Welcome to the official Janome.com Blog Page!

  • 4/29/2021

    Janome Makers are amazing! They constantly try out new ways to use all of the features on their Janome machines and come up with fresh ideas to share. Maker Danielle Amato has many videos on the Janome YouTube channel featuring different projects that are geared towards garment sewing. In this tutorial, Danielle uses the Janome Artistic Digitizer software to upcycle a crewneck with fun applique and fabric scraps! 

    I have been absolutely loving my Skyline S9. This week I finally decided to get into the appliqué side of what this machine can do. Thanks to the help of Janome's Artistic Digitizer, this was such an easy and fun way to update an old crewneck.


    Creating the Applique File


    The first thing I did, was type out the word I wanted on my sweatshirt, into the Artistic Digitizer software. Because who doesn't love coffee enough to put it on your sweatshirt?


    After I typed out the word, I picked the font that I liked and I curved it to look more like collegiate lettering.

    Since my hoop is only 5.5" wide, I have to resize my image to be the width that I want on the chest of the sweatshirt. Once I sized the full image to how big I want it on the sweatshirt, I split the design in half and put it on two separate hoop files. When I go to appliqué the sweatshirt, I will do the first half of the word, and then re-hoop the sweatshirt and do the second half of the word (more on this later)


    Once I do that, I go over to the sidebar under "Fill" and select "Applique". I also select "Fix Satin" to give that satin-edged look around the letters. You will now see that the letters changed from a complete satin fill to the look of fabric with sating stitching around the letters. I can now send the files over to my machine.


    Hooping the Sweatshirt

    First, I marked 3" down from the neckband, made a cross mark. Folding the sweatshirt in half, matching shoulders, I found the center front line and marked. These marks will be the guidelines for when I hoop the sweatshirt.


    The first step in the appliqué file will outline the placement of the appliqué. Once this is stitched out, you can then place the fabric you would like on top of it. Make sure that the fabric piece is larger than the outline.


    Once your fabric is placed, the next step is to tack down the fabric.


    Once the fabric is tacked down, carefully cut the excess fabric as close to the stitching line as you can.

    After this, the next step for the machine is to create the satin edge.

    This process will repeat for each letter.


    After I finished the first half of the word, I re-hooped the sweatshirt and repeated this process for the second half. The final result is a great top that you will wear often! You can use this technique to add your personal touch to garments, bags, quilts, and home decor! 


    We are excited to announce that for the month of May you can get a month free to try out Janome Artistic Digitizer! You can register for this trial through May 15th! The trial ends on May 31, 2021. This offer is only good for Janome America and Janome Canada. 

  • 8/16/2021

    Janome is excited to partner with the newest and most innovative show in designer reality competitions THE HYPE! 


    "The worlds of streetwear, business, and culture collide! THE HYPE features ten streetwear professionals who will compete in challenges to prove they can talk the talk and deliver the product. Every episode will offer unique tips and takeaways about the intricacies of designing, the business of fashion, and the savvy it takes to identify the latest trends. See which contestant can elevate their designs and entrepreneurial sense to avoid elimination — while still remaining authentic to their own style."

    Follow along as these talented designers create their one-of-a-kind looks on the Janome HD 3000 sewing machine, Air Thread 2000D, Memory Craft 550E, and Janome Artistic Digitizer software.


    THE HYPE studio was set up for success with the following Janome machines and instruction from our Janome Education Team:


    The HD-3000 is a heavy-duty machine, perfect for a beginner or sewist looking to do a wide range of sewing. A handy instructional guide is located in the top tray door of the machine, which indicates the feet and stitch settings for a variety of sewing tasks. Heavy-duty aluminum body and 18 stitches, including a one-step buttonhole, give you the tools you need to handle any kind of sewing project. Stitch length and width adjustment are conveniently located on the front of the machine, and a hardcover comes standard for easy storage.

    Serging Simplified. Every project is easier with the right tools for the job, and the AirThread 2000D provides all the tools you need to deliver professional quality finishing. With Janome's One-Push Air Threading System the tedious threading of upper and lower loopers is a thing of the past. The 8-Piece Feed Dog System will easily grab and feed your fabric, from slinky knits to denim, the AT2000D will meet the challenges of your sewing projects. 

    The Built-in One-step Converter makes changing from 3-thread to 2-thread applications easier than ever. And with a built-in needle threader, manually threading your serger needles becomes easier than ever. One unit provides threading of both the right and left position needles. 


    Janome's largest stand-alone embroidery machine, the Janome Memory Craft 550E is a perfect companion to your sewing machine. Personalizing your projects has never been easier or faster now that you can use the new RE36b hoop that provides an embroidery field of 7.9" x 14.2" with magnetic clips. Your built-in embroidery library contains 180 embroidery designs, that include classic designs, floral alphabets, in-the-hoop monsters, and Sashiko designs. Add in 6 fonts, and the possibilities are endless. The MC550E comes with an extra-wide extension table, four embroidery hoops, the already mentioned RE36b hoop, SQ20b 7.9" x 7.9", RE20b 5.5" x 7.9" and SQ14b 5.5" x 5.5". 

    Designs are easily imported through a USB and edited through the machine's advanced on-screen editing functions. Navigation through all of these features has become easier with the MC550E’s LCD color touchscreen.


     Meet the designers, the cosigners, and find out what THE HYPE is all about! 


    Watch the hottest competition this Summer, stream

    THE HYPE on HBO Max!


  • 10/6/2021

    Trying new things on your Janome machine is a great way to feed your creative spirit! Whether it is a new technique, tool, or even if it is just going outside of what you usually do, it can be exhilarating! Janome Maker Meredith from Olivia Jane Handcrafted is trying out the embroidery feature on her Janome Skyline S9 + Janome Artistic Digitizer Software! 


    I've been sewing on my Skyline S9 for a few years now. At first, I was rather intimidated by the embroidery features of the machine, but once I decided to dive in, I realized how much versatility that the machine has when paired with Janome's Artistic Digitizer software. The Janome Artistic Digitizer software is extremely powerful, and my favorite part is that I can take artwork I love and digitize it for embroidery. One of the first projects I did when learning the software was a collection of framed embroidery made from images of some of my favorite fabrics. Today I'm going to show you how you too can create a beautifully textured embroidery based on a favorite fabric. I have framed mine, but you can feature it on a shirt, a pillow, bag, or whatever you like! 
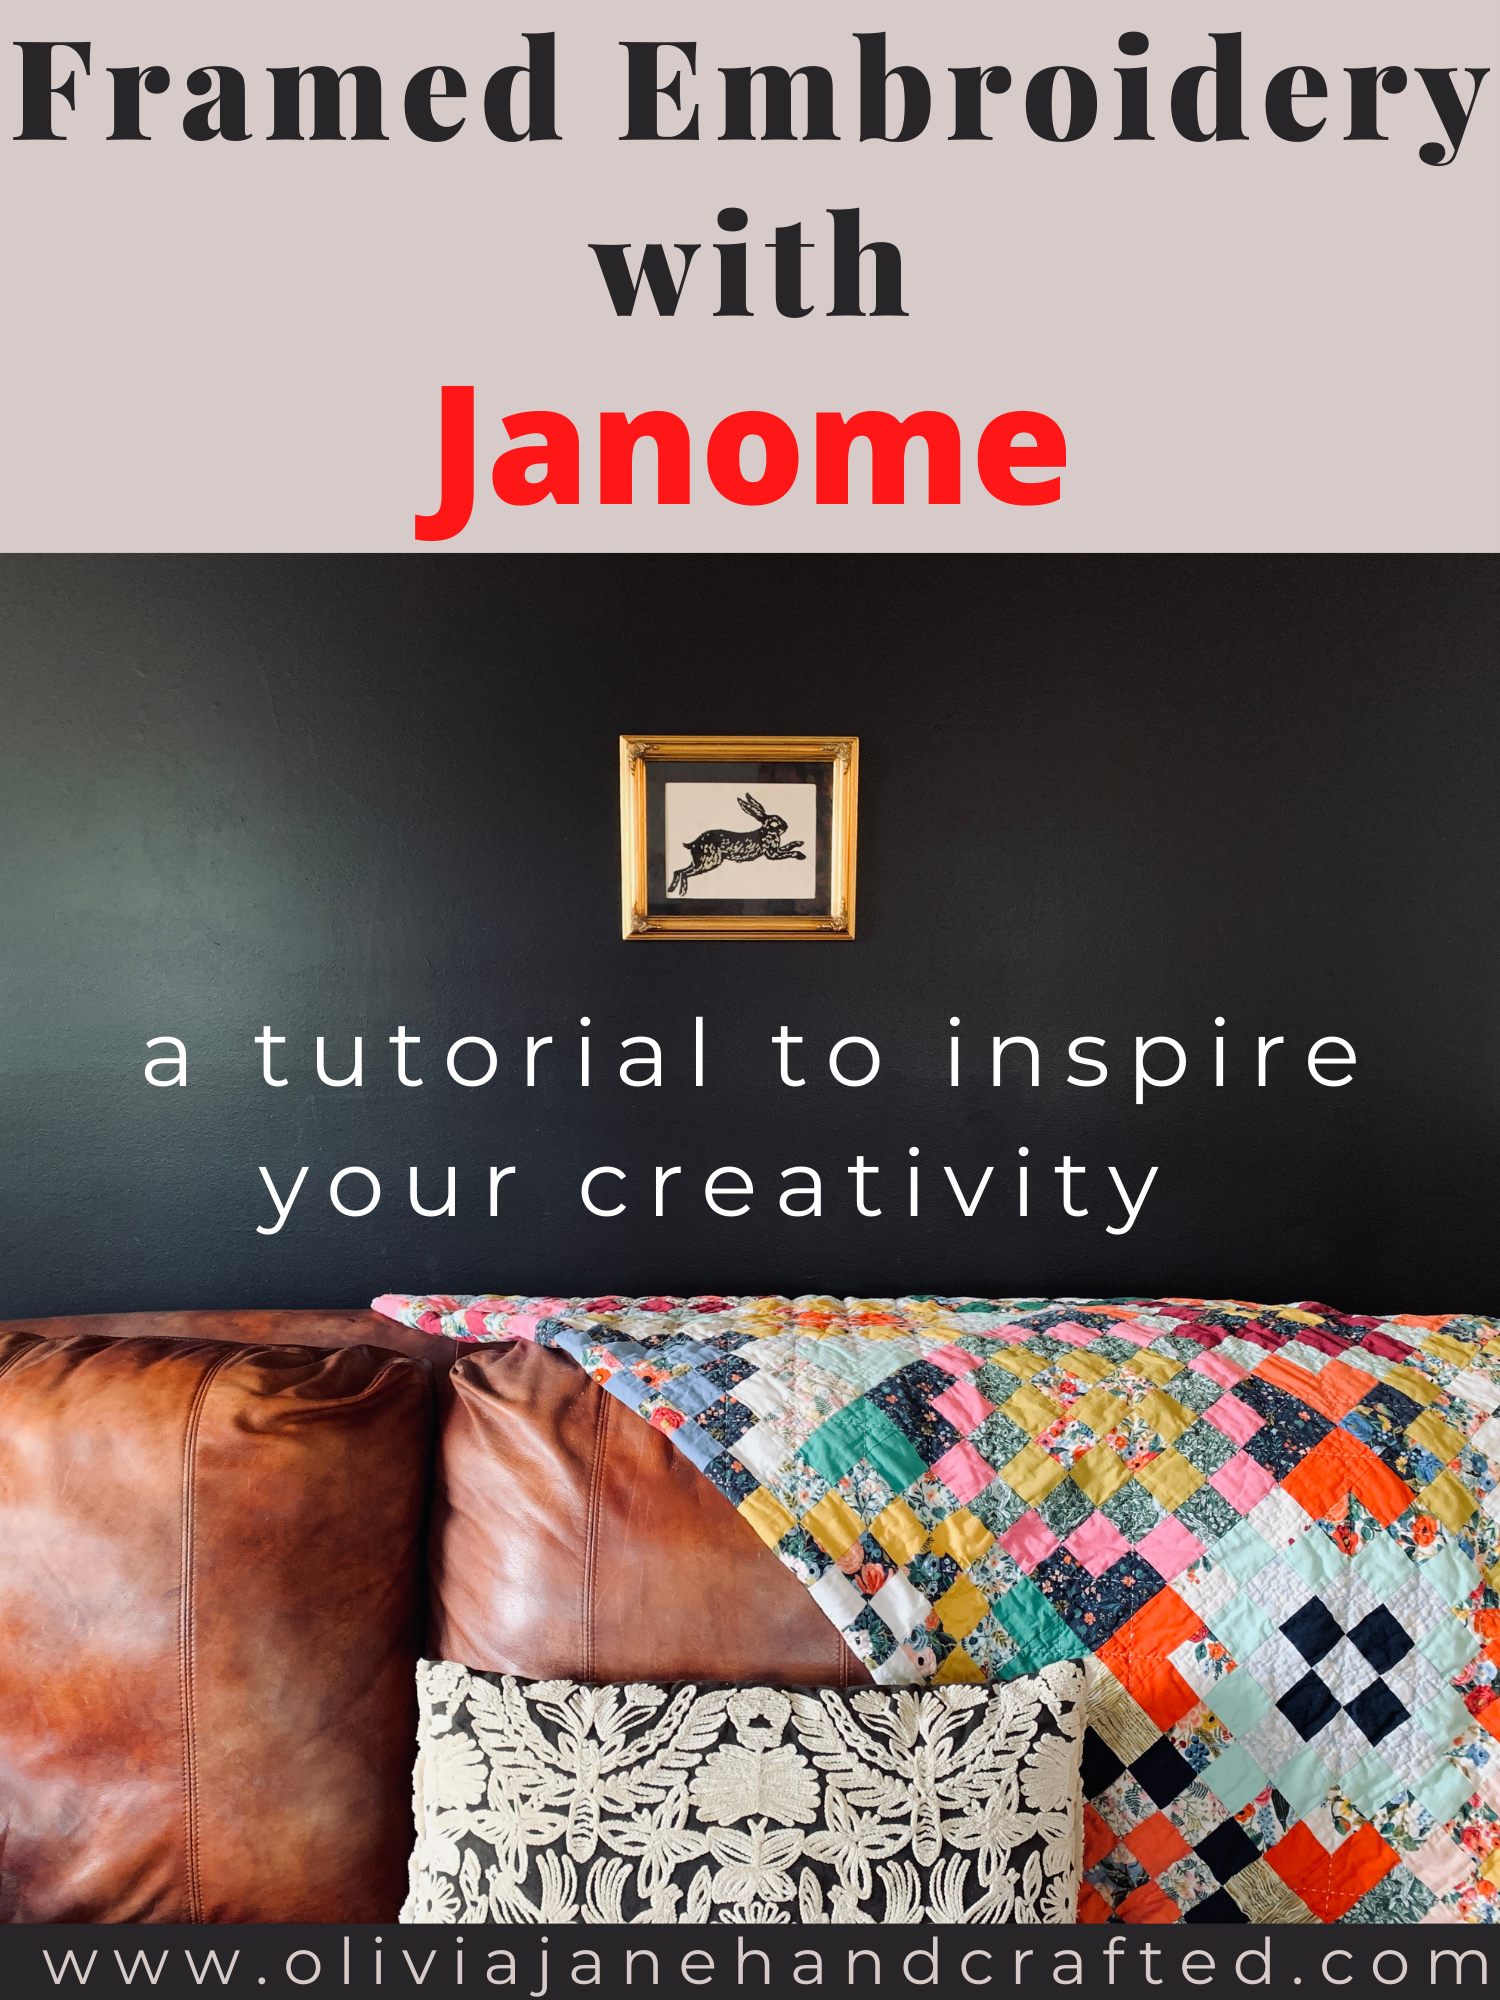


    framed embroidery tutorial


    important note: Because this is a project-based off on the artwork (fabric) of someone else, please keep in mind that without express written permission, it would be entirely unethical and illegal to sell or distribute work you make that is created using the art of another person. So do this only for your own personal enjoyment and do give credit when posting. This tutorial is for private use only. I am using a digital image of a very favorite fabric, Fable by Anna Bond of Rifle Paper Co. Prior to uploading the image to Janome Artistic Digitizer, I cleaned up the surrounding motifs in PixlrX, which is just a free online editing program that makes it easy to remove other parts of an image. Once I had gotten the image down to only the rabbit I wanted to stitch, I opened the Janome Artistic Digitizer Software and opened a new project for the RE20 hoop, which is the largest hoop available for the Skyline S9.
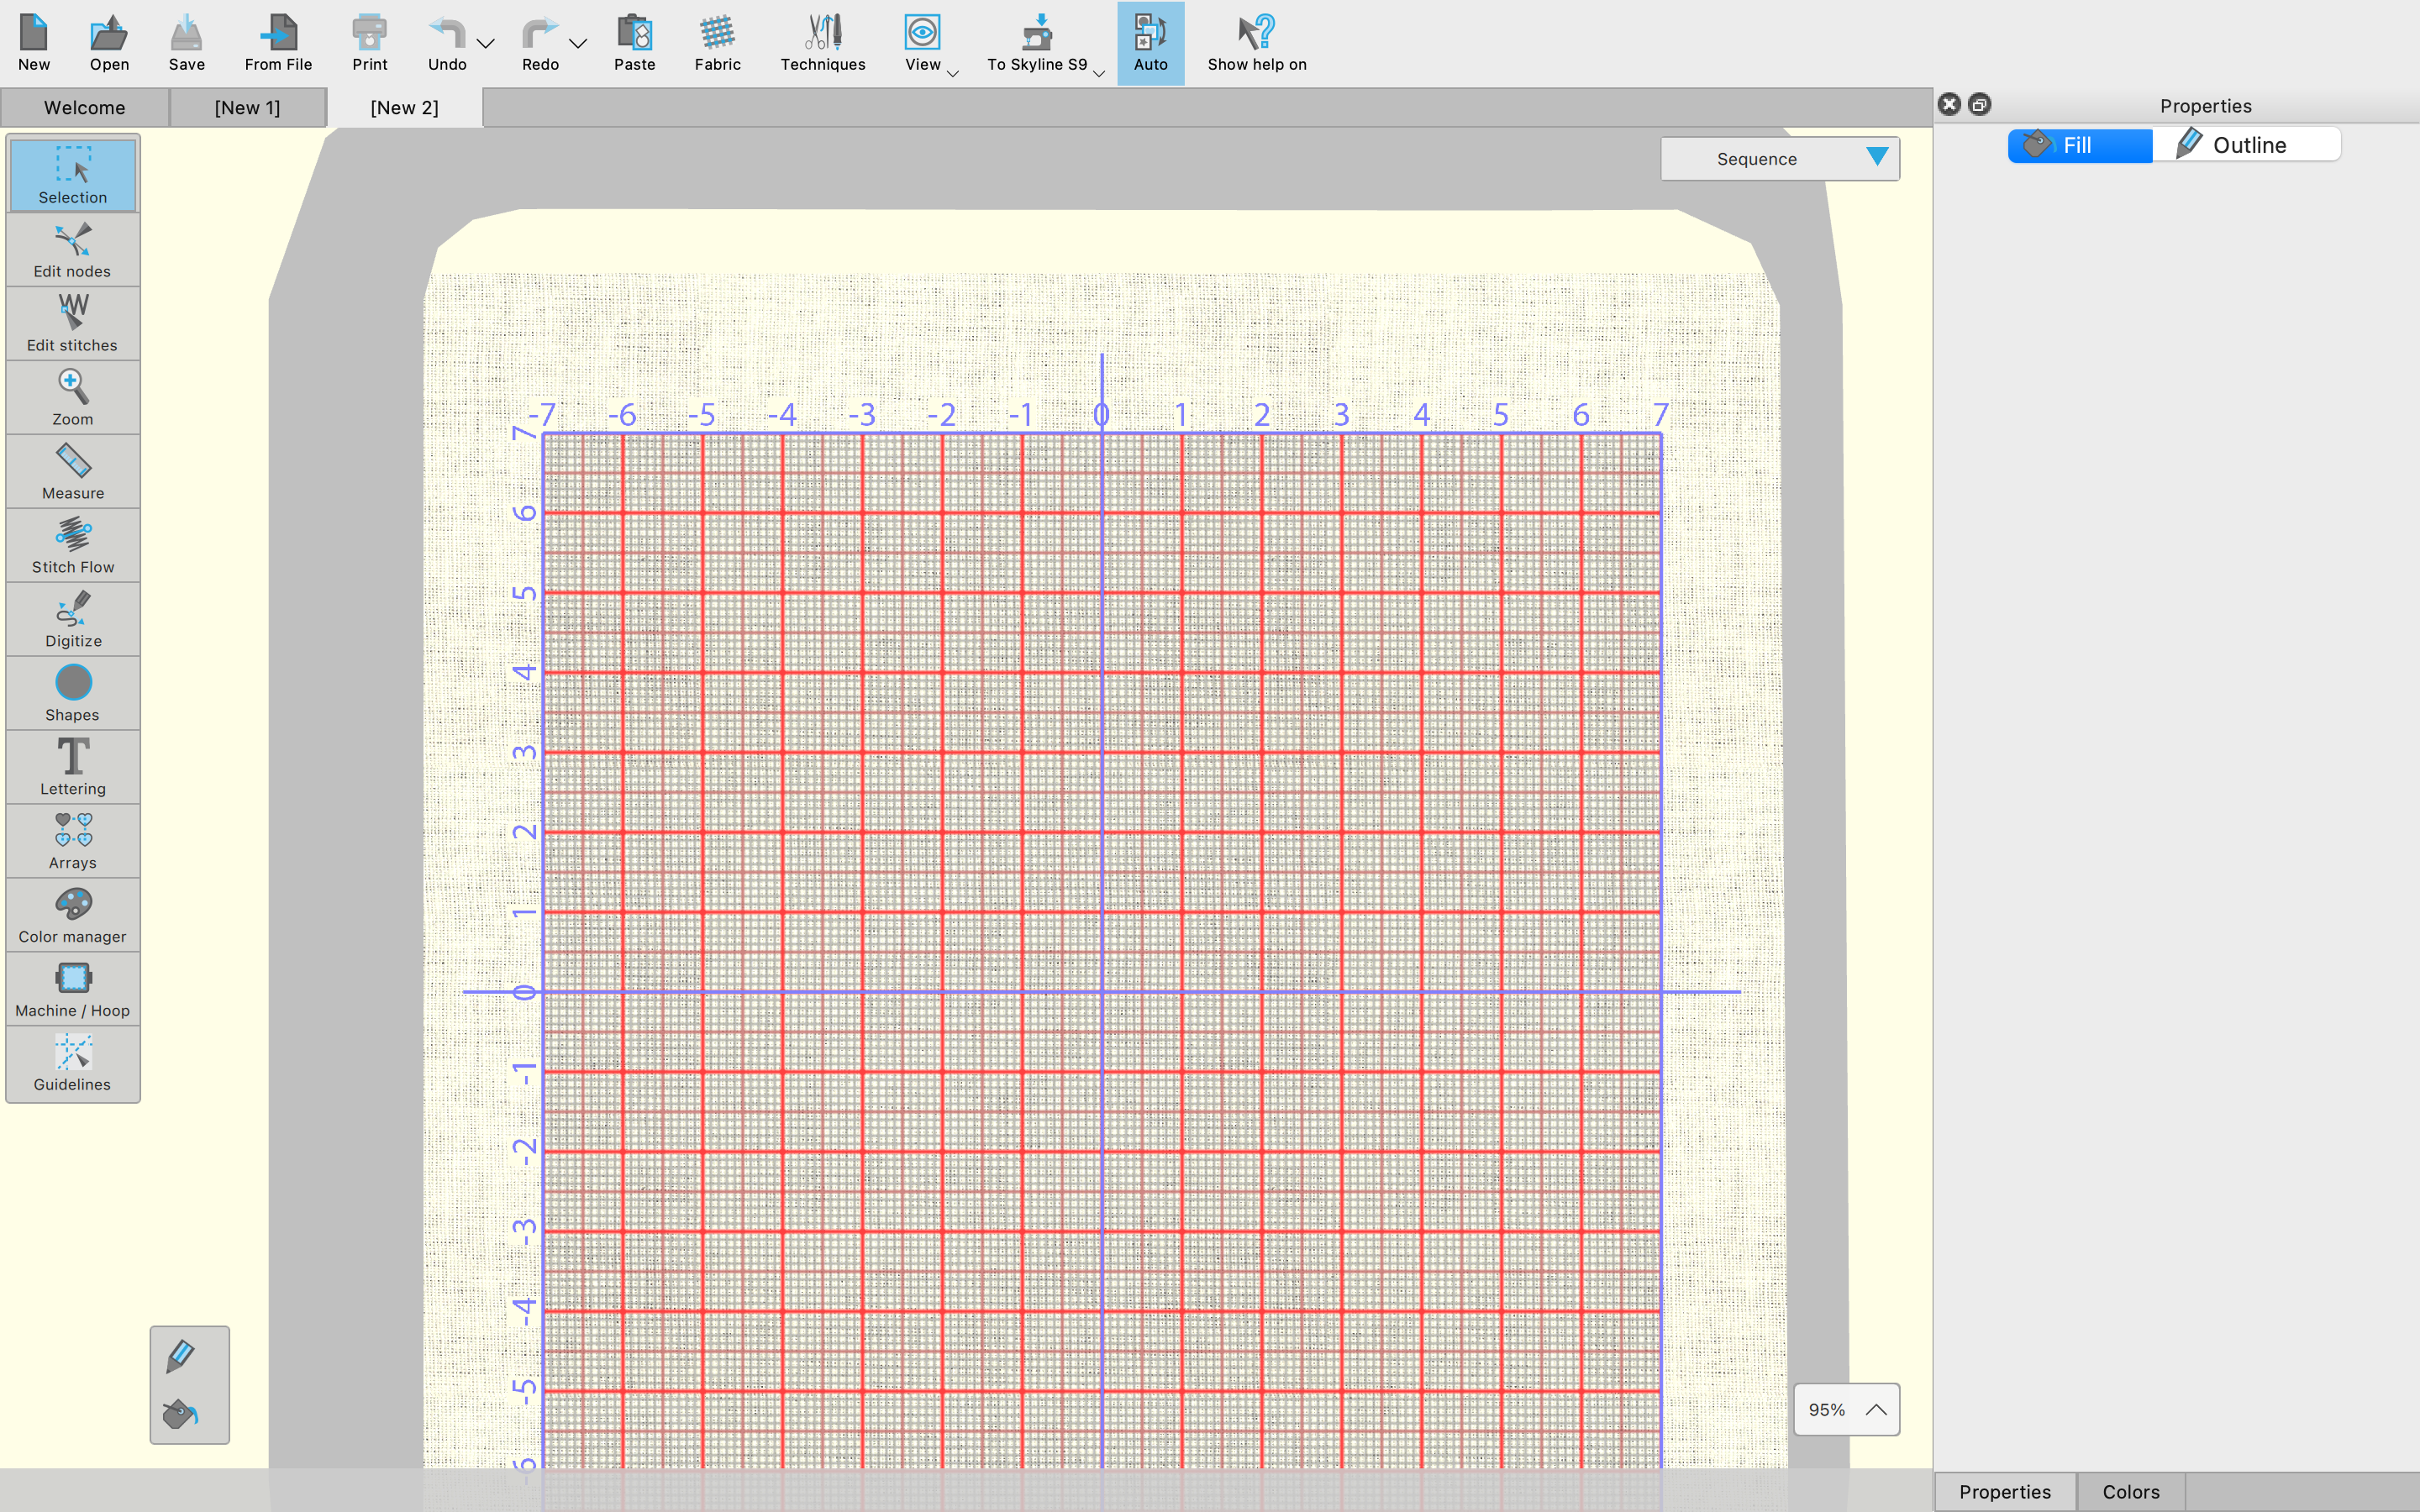
     

    new artistic project


    I selected the image, which I had saved as a PNG, and then made the following selections:
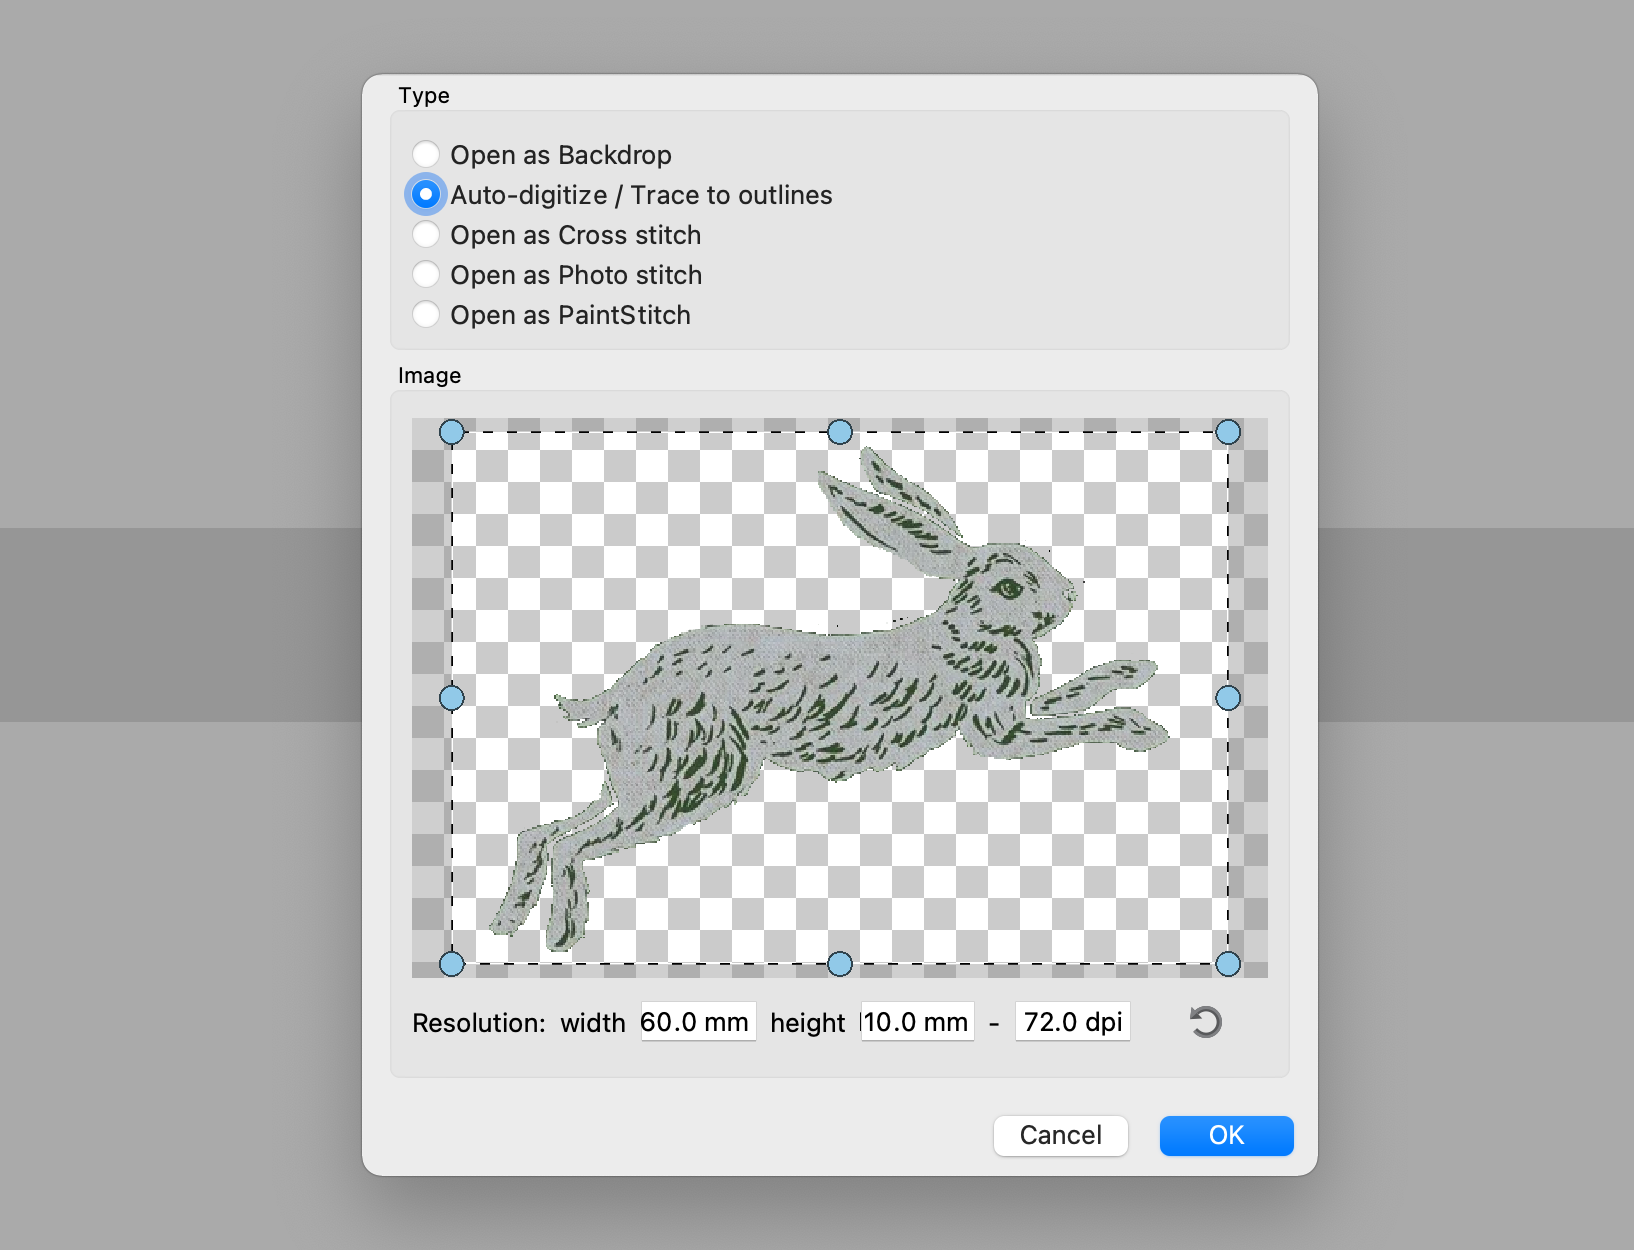
    open image


    image selection


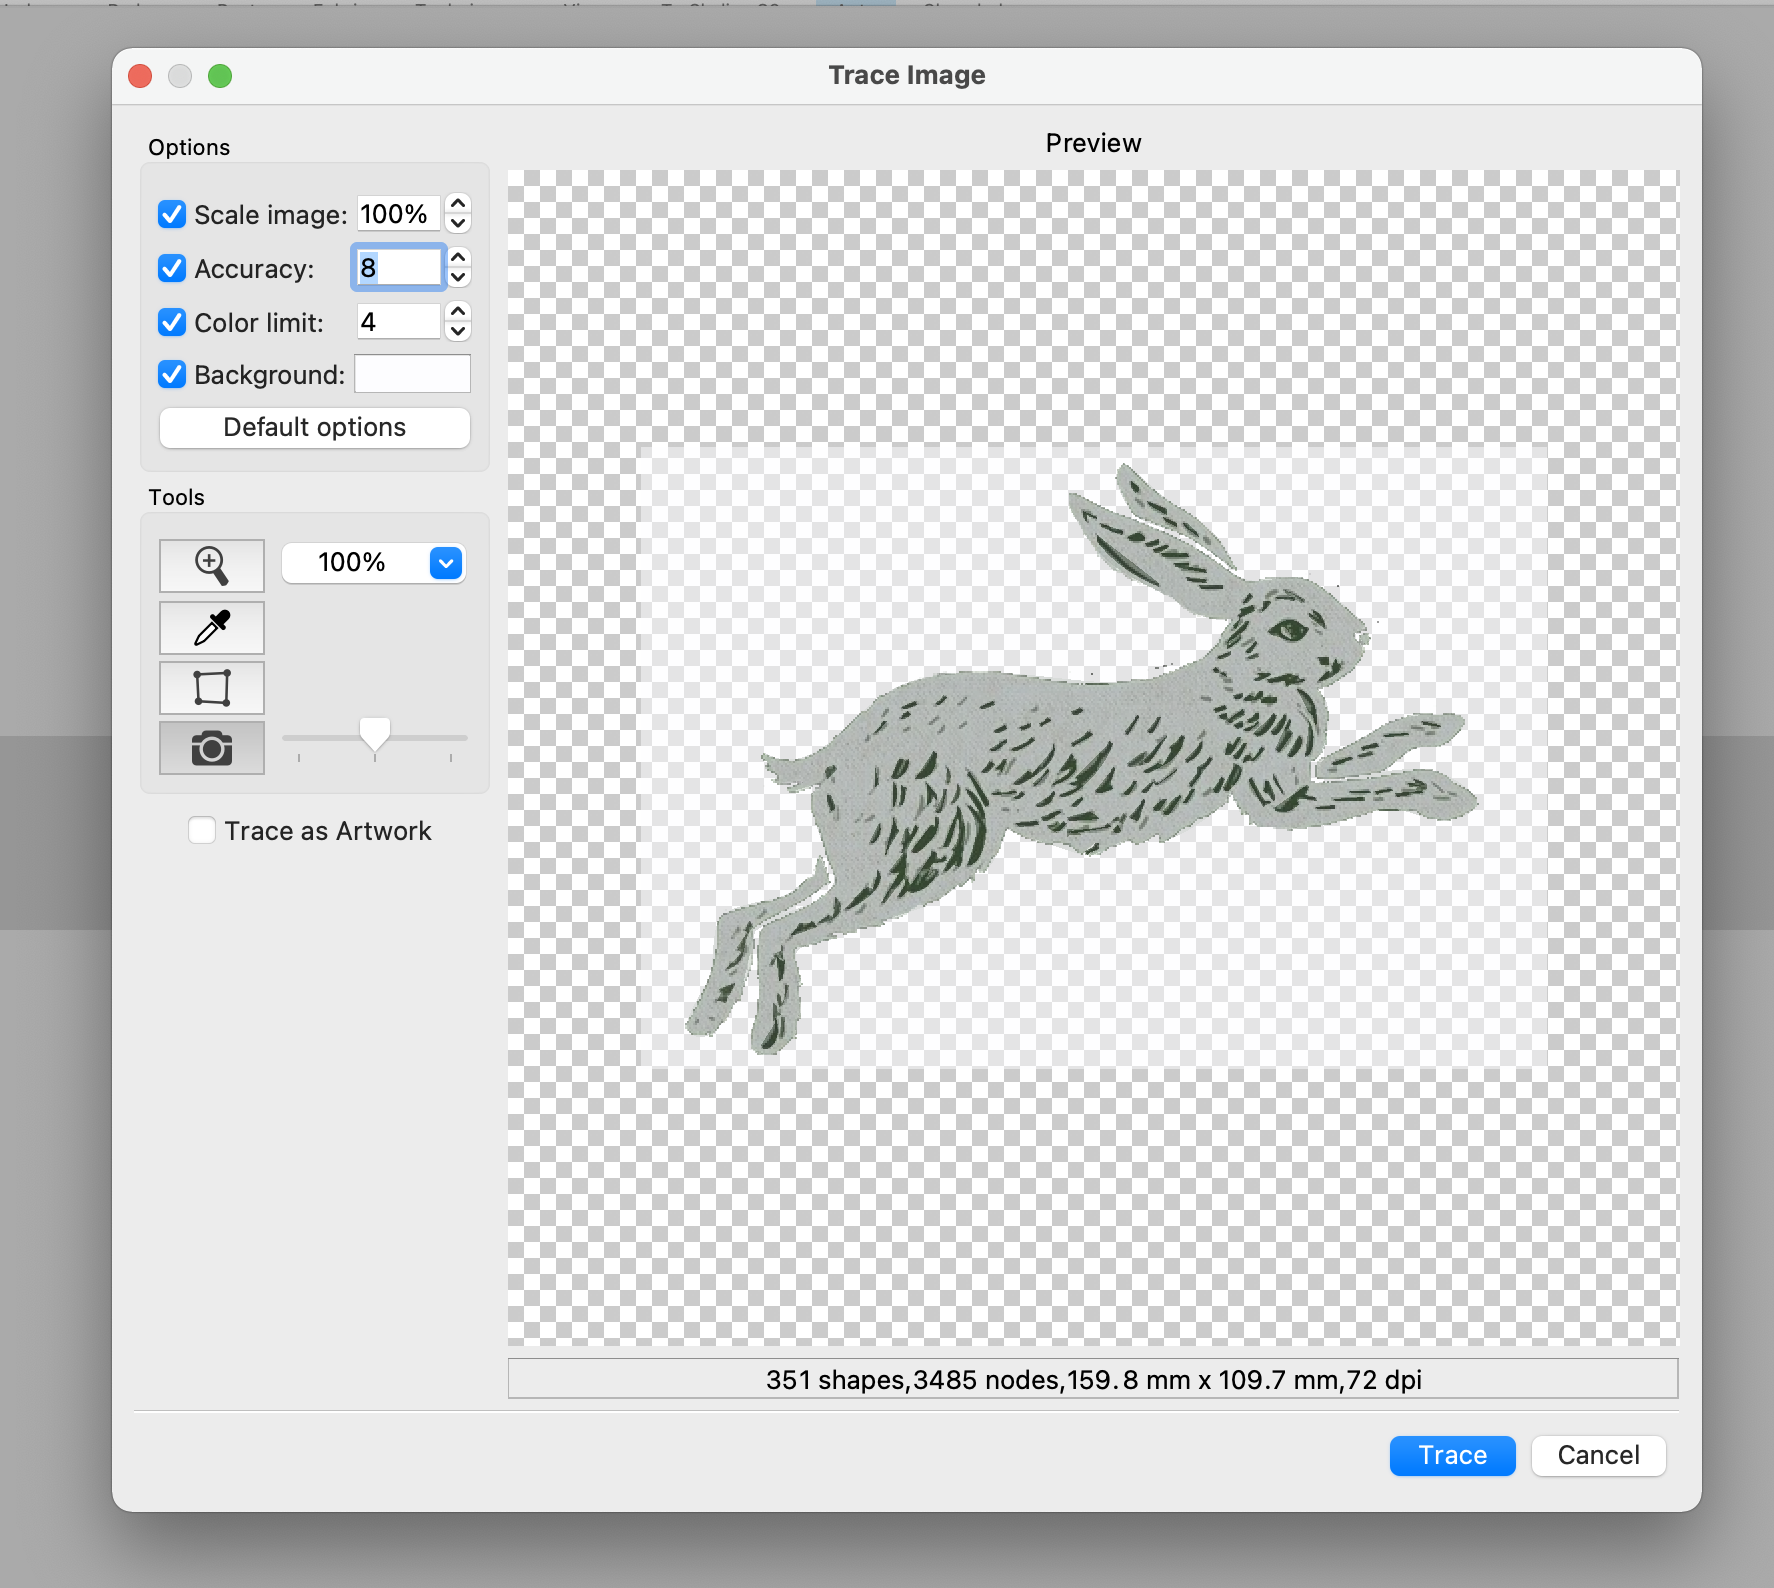
    If you do not want to stitch the background, you must be sure to select the background button and then click the background with the dropper that will appear so that it disappears as seen above. I limited the number of colors to four initially, then brought it down to two once opened the image.
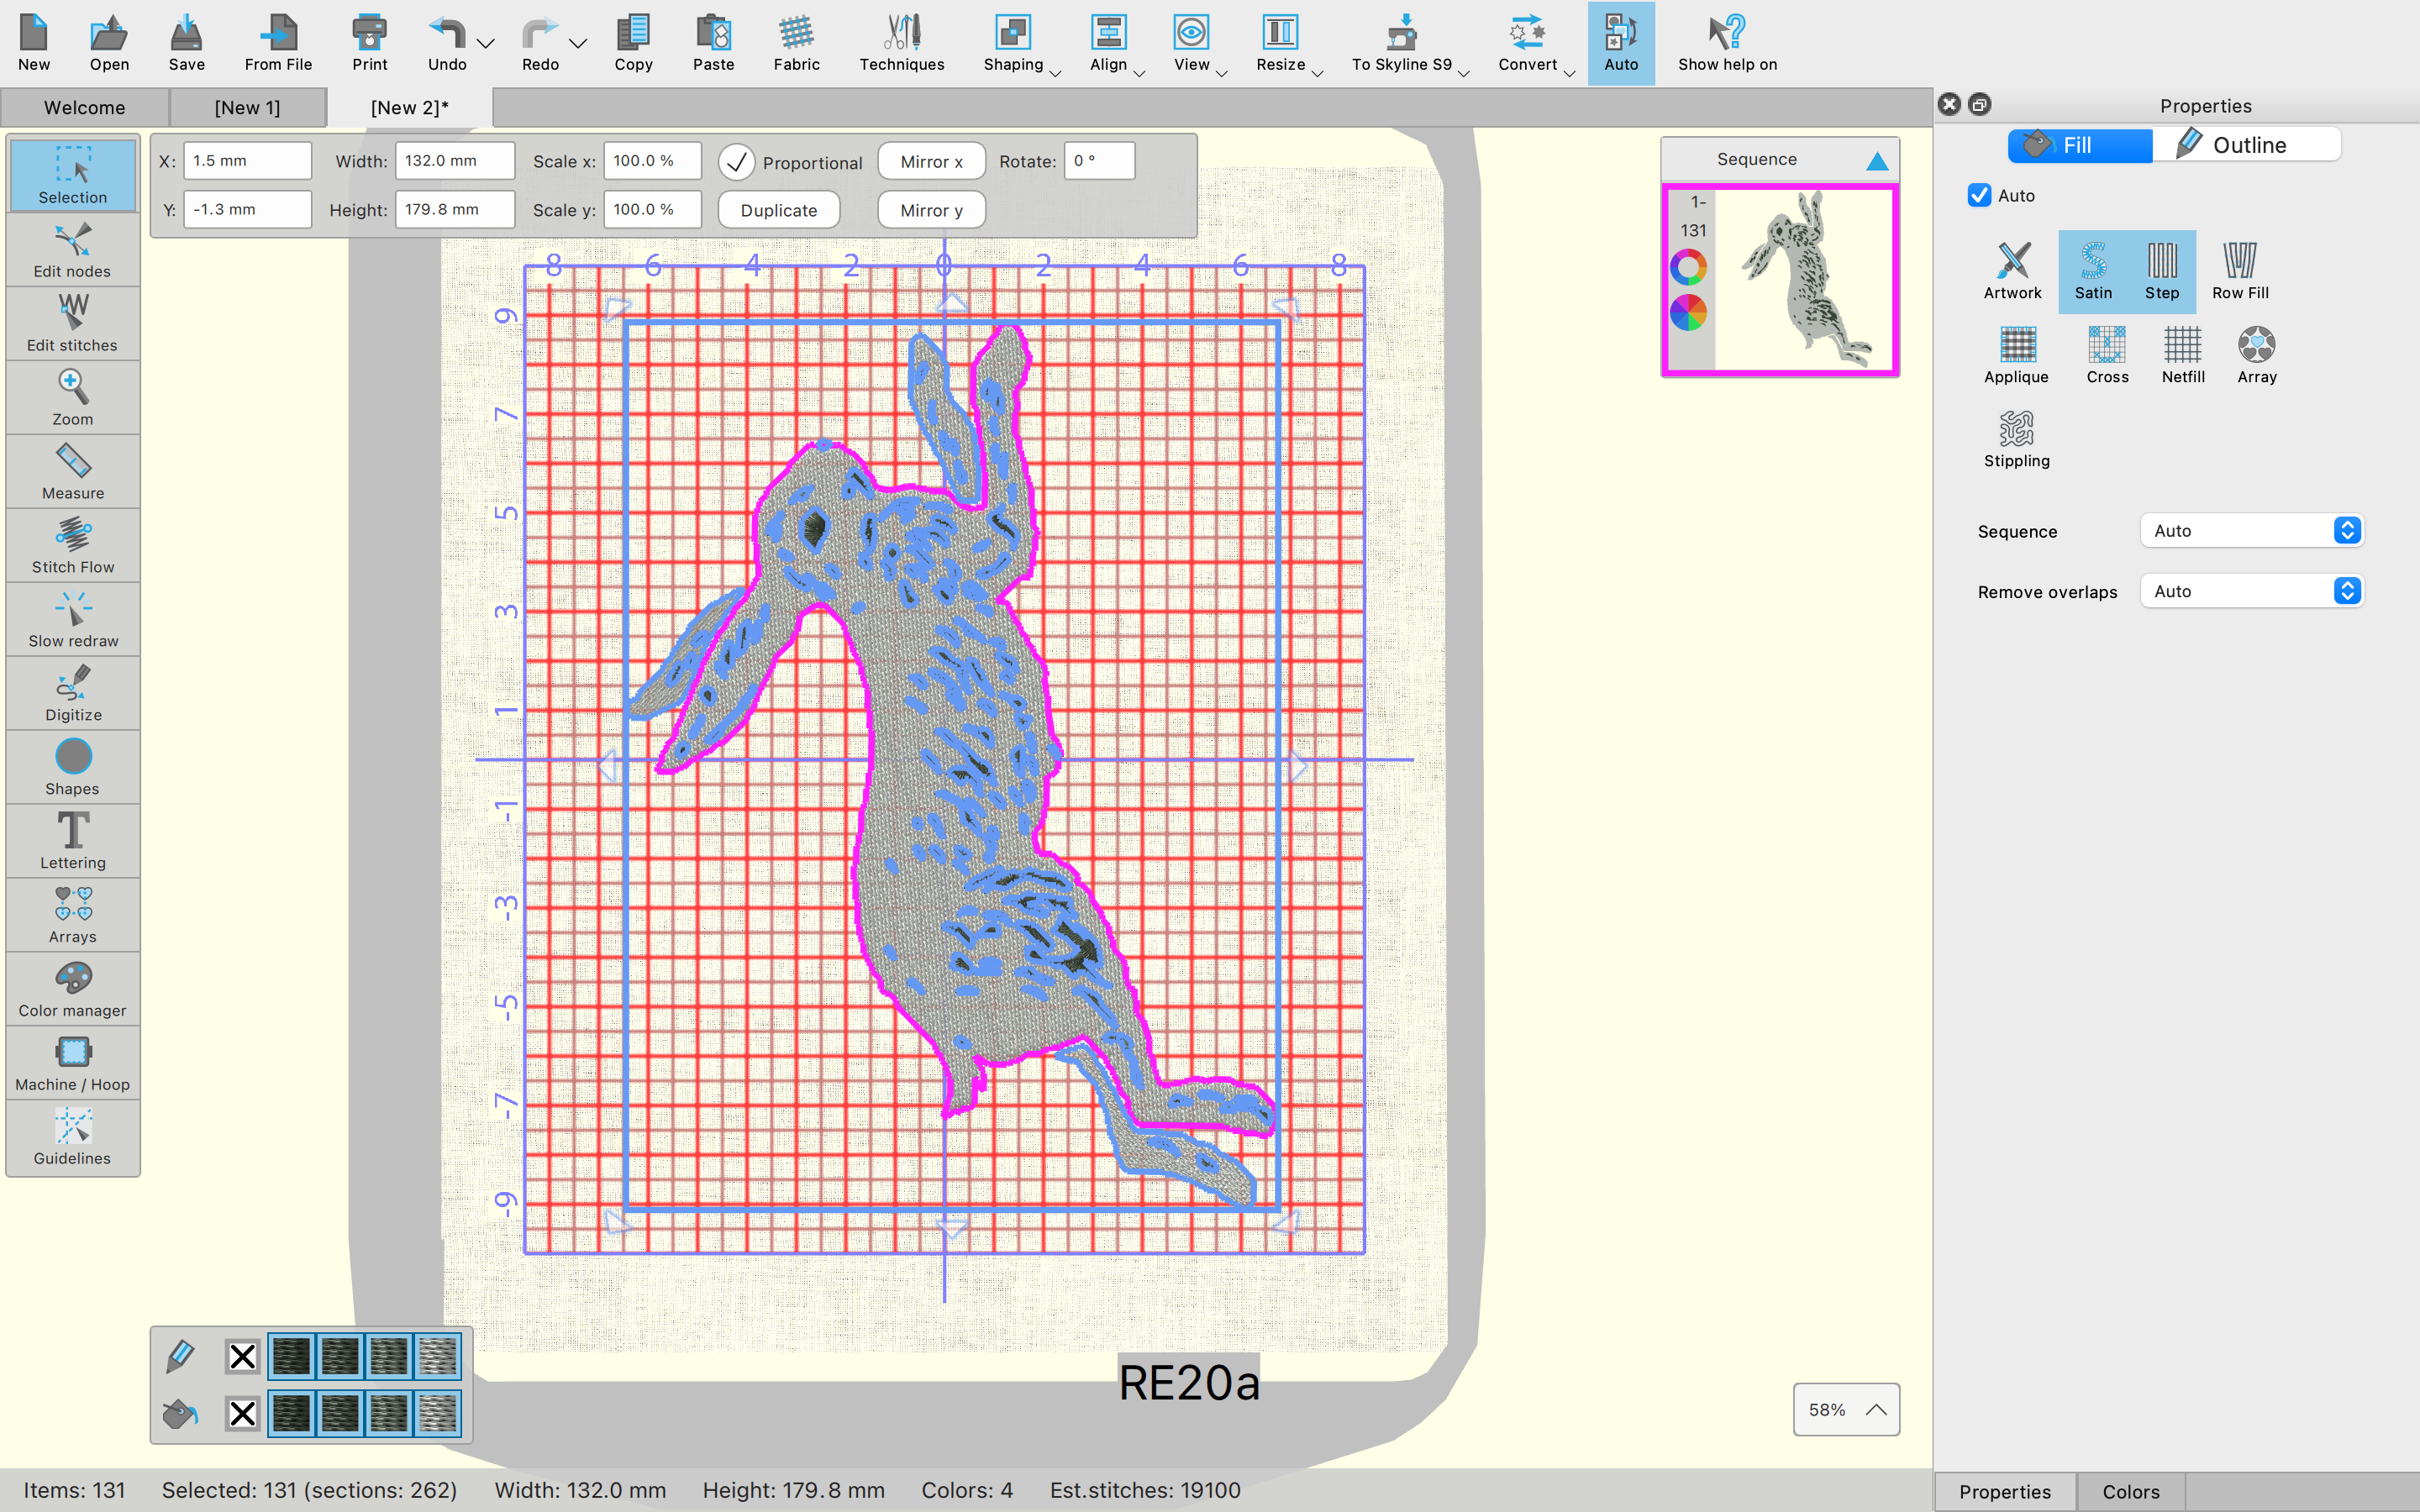


    image placement


    I rotated and centered the image in the hoop, and when I opened the color manager, and easily changed the color selection from four to two. It just removed the variation in the darker colors. I knew I was just going to be stitching in black and white, so there was no need to deal with thread changes on the machine when I had no intention of changing the colors so many times. By the way, you can totally change the colors to exactly what you will be using to stitch with, but I find that just changing the number of colors is fine, because I can just use whatever colors I want once I go to stitch it out on the machine. Now the important thing to do is to go to the toolbar, click Auto and then Optimize. I did a simple optimization that rearranges the sequence for the most efficient color order. Anytime you are doing your own thing for embroidery, you need to optimize, otherwise, you could easily have a hundred color changes which would take forever.
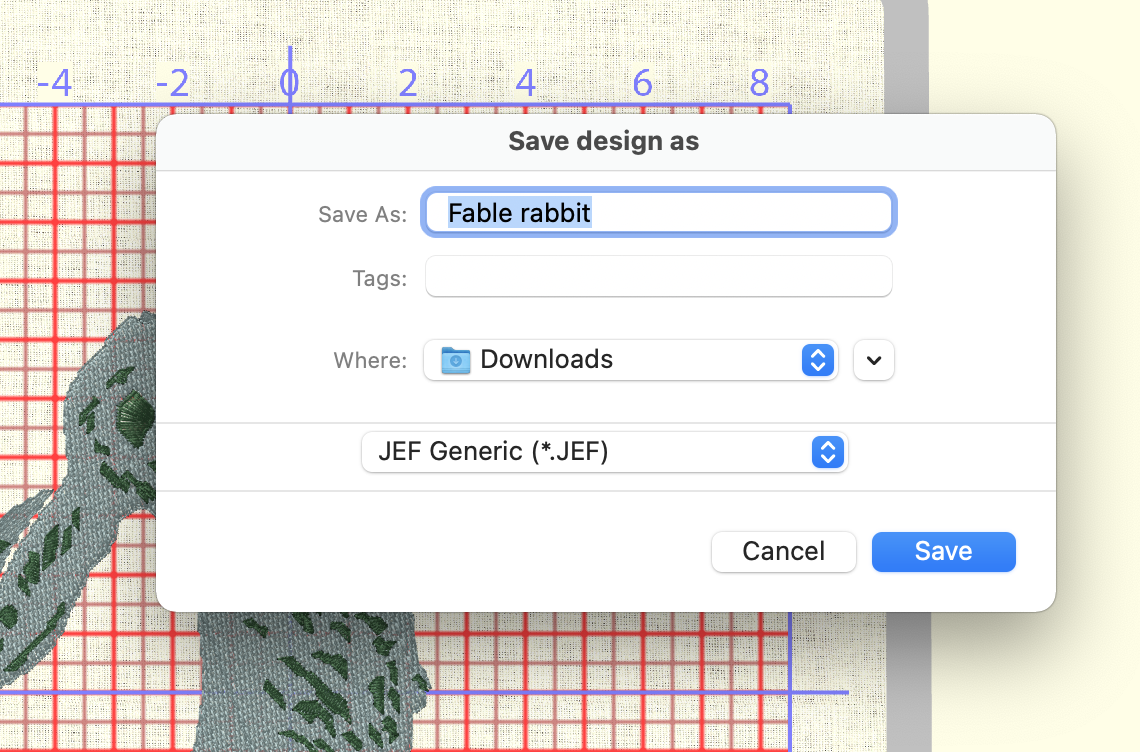


    export


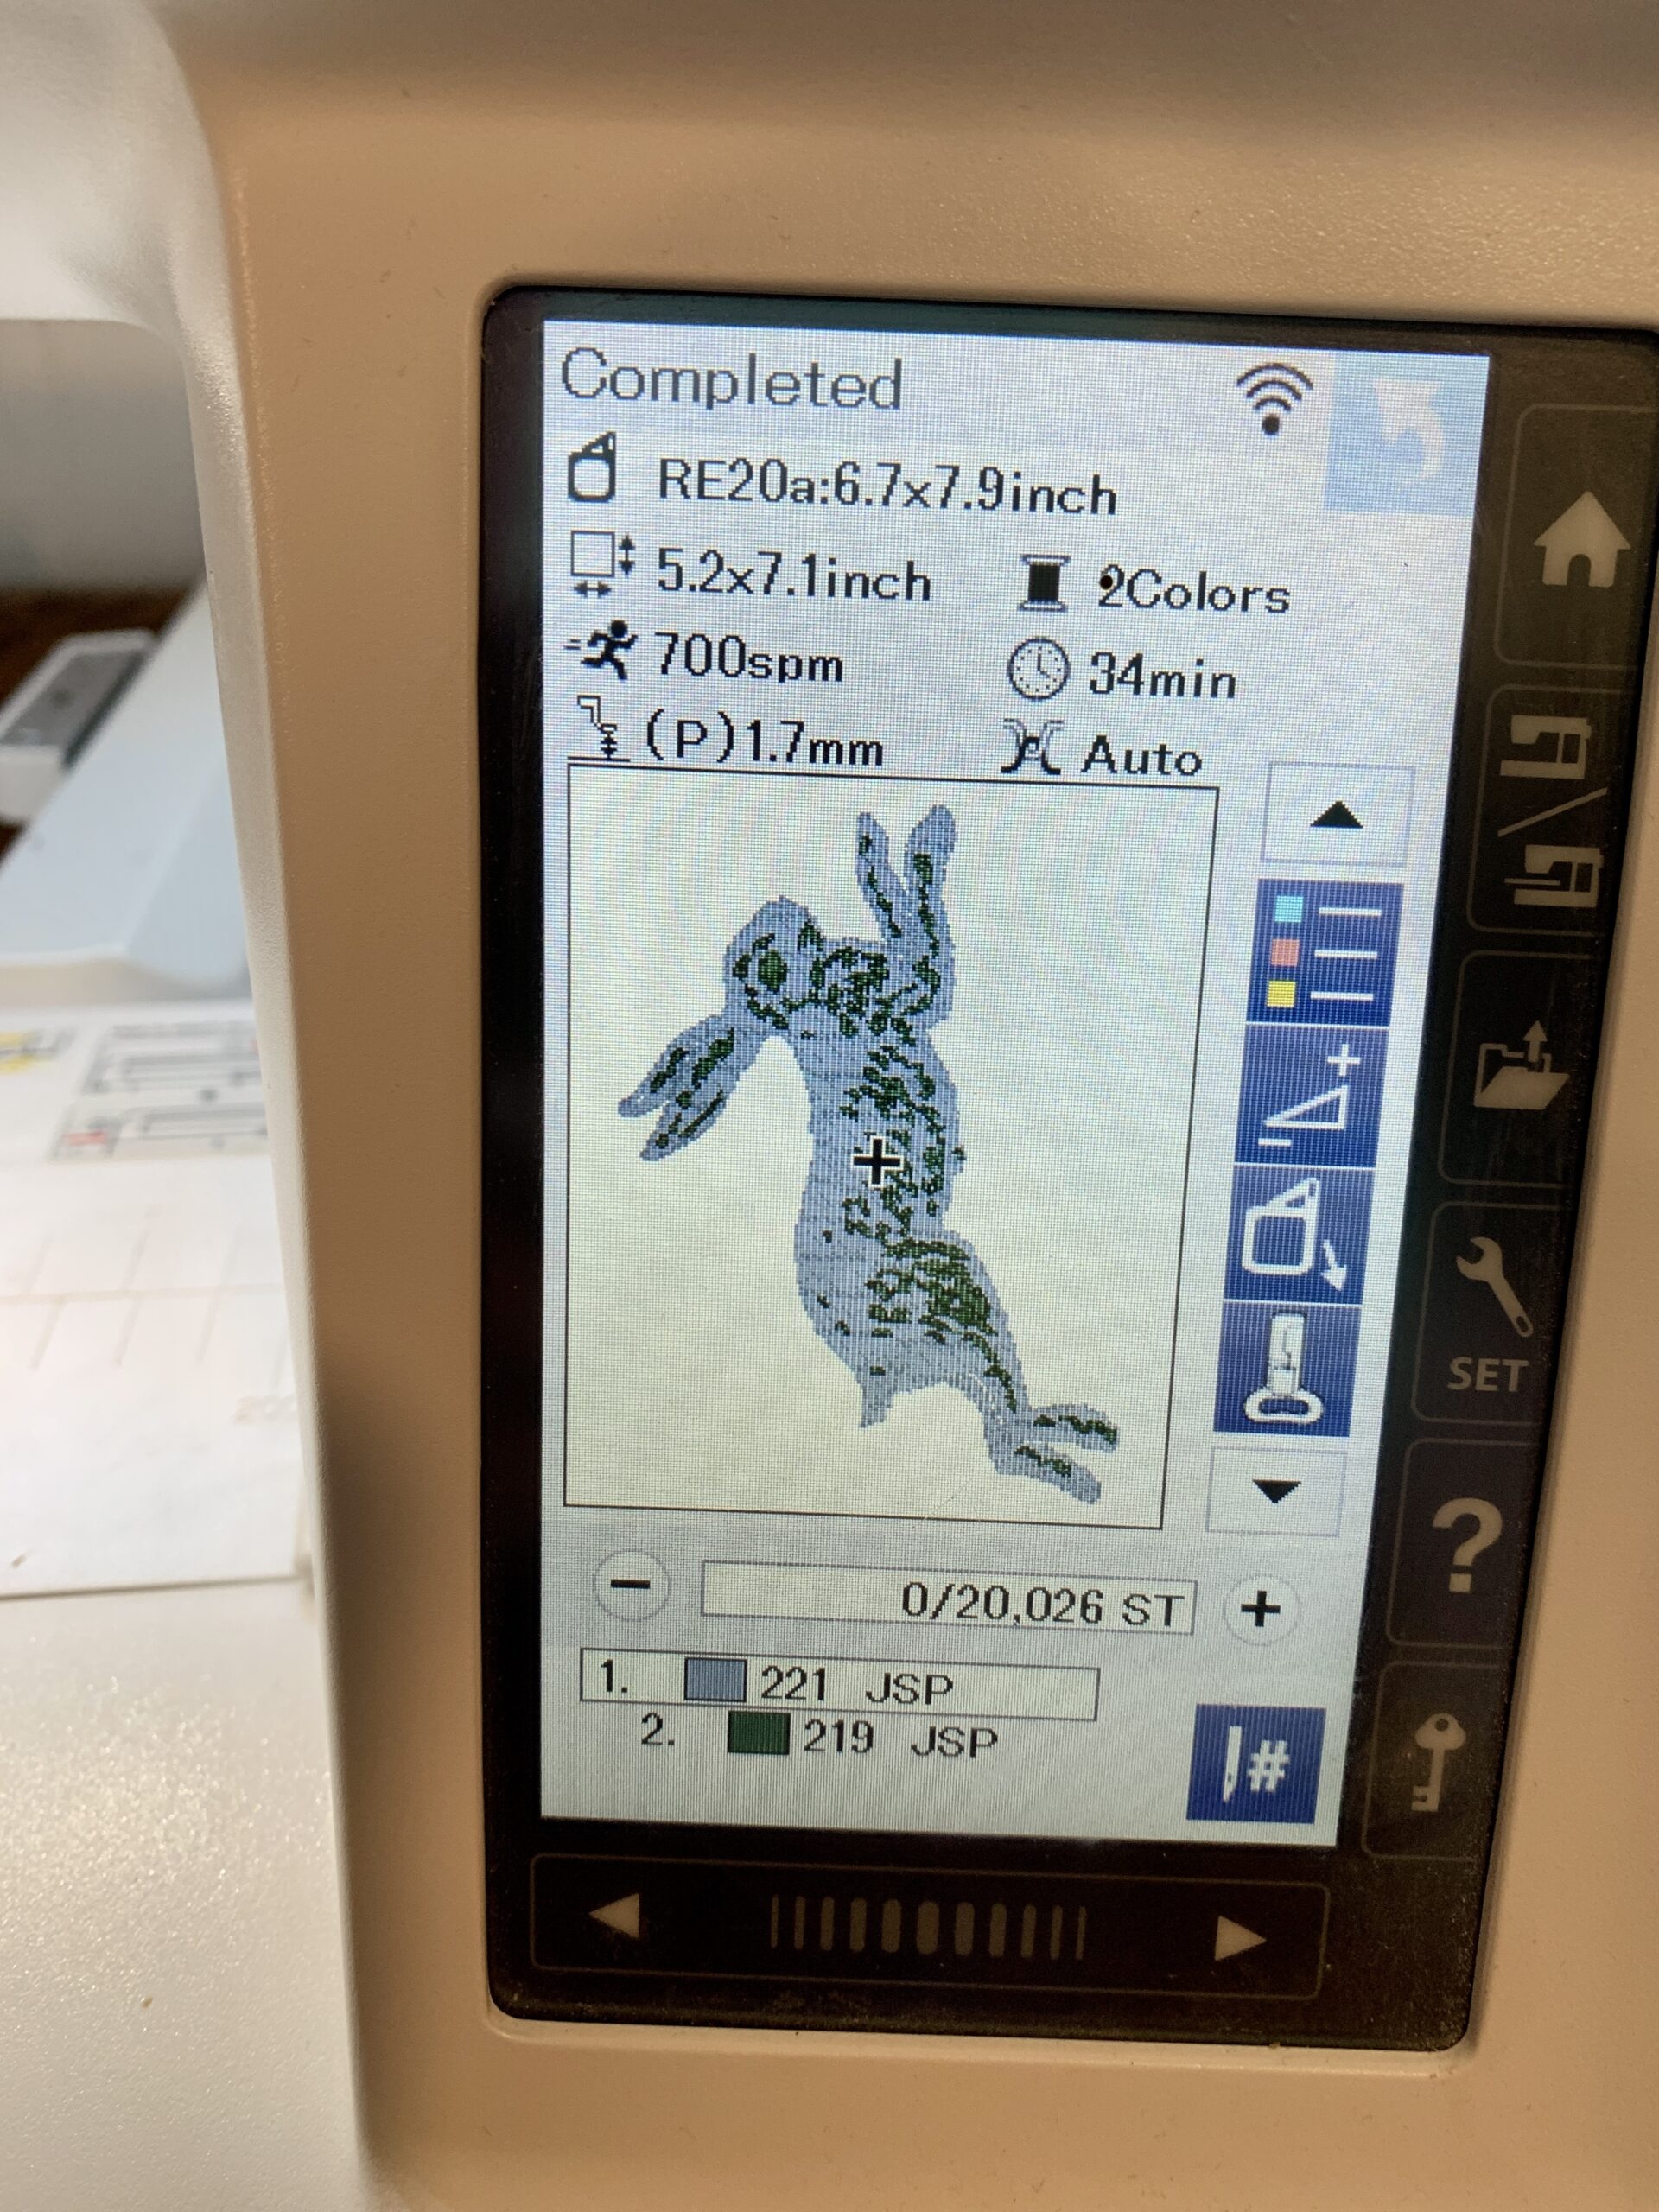
    If your embroidery mockup looks good, then you are ready to save it as a .JEF file then export it. I exported to a USB drive, but the Skyline S9 has wifi capability and can be exported that way, or by plugging in directly to your device. Make sure that your machine is set up for embroidery per the manual instructions, and prepare your fabric and hoop for embroidery. I am using a cotton muslin backed with interfacing and then hooped up with embroidery stabilization paper. Again, I'm using the RE20a hoop. Open your embroidery file on your machine, and start stitching. I love to just sit back and watch the embroidery come to life!
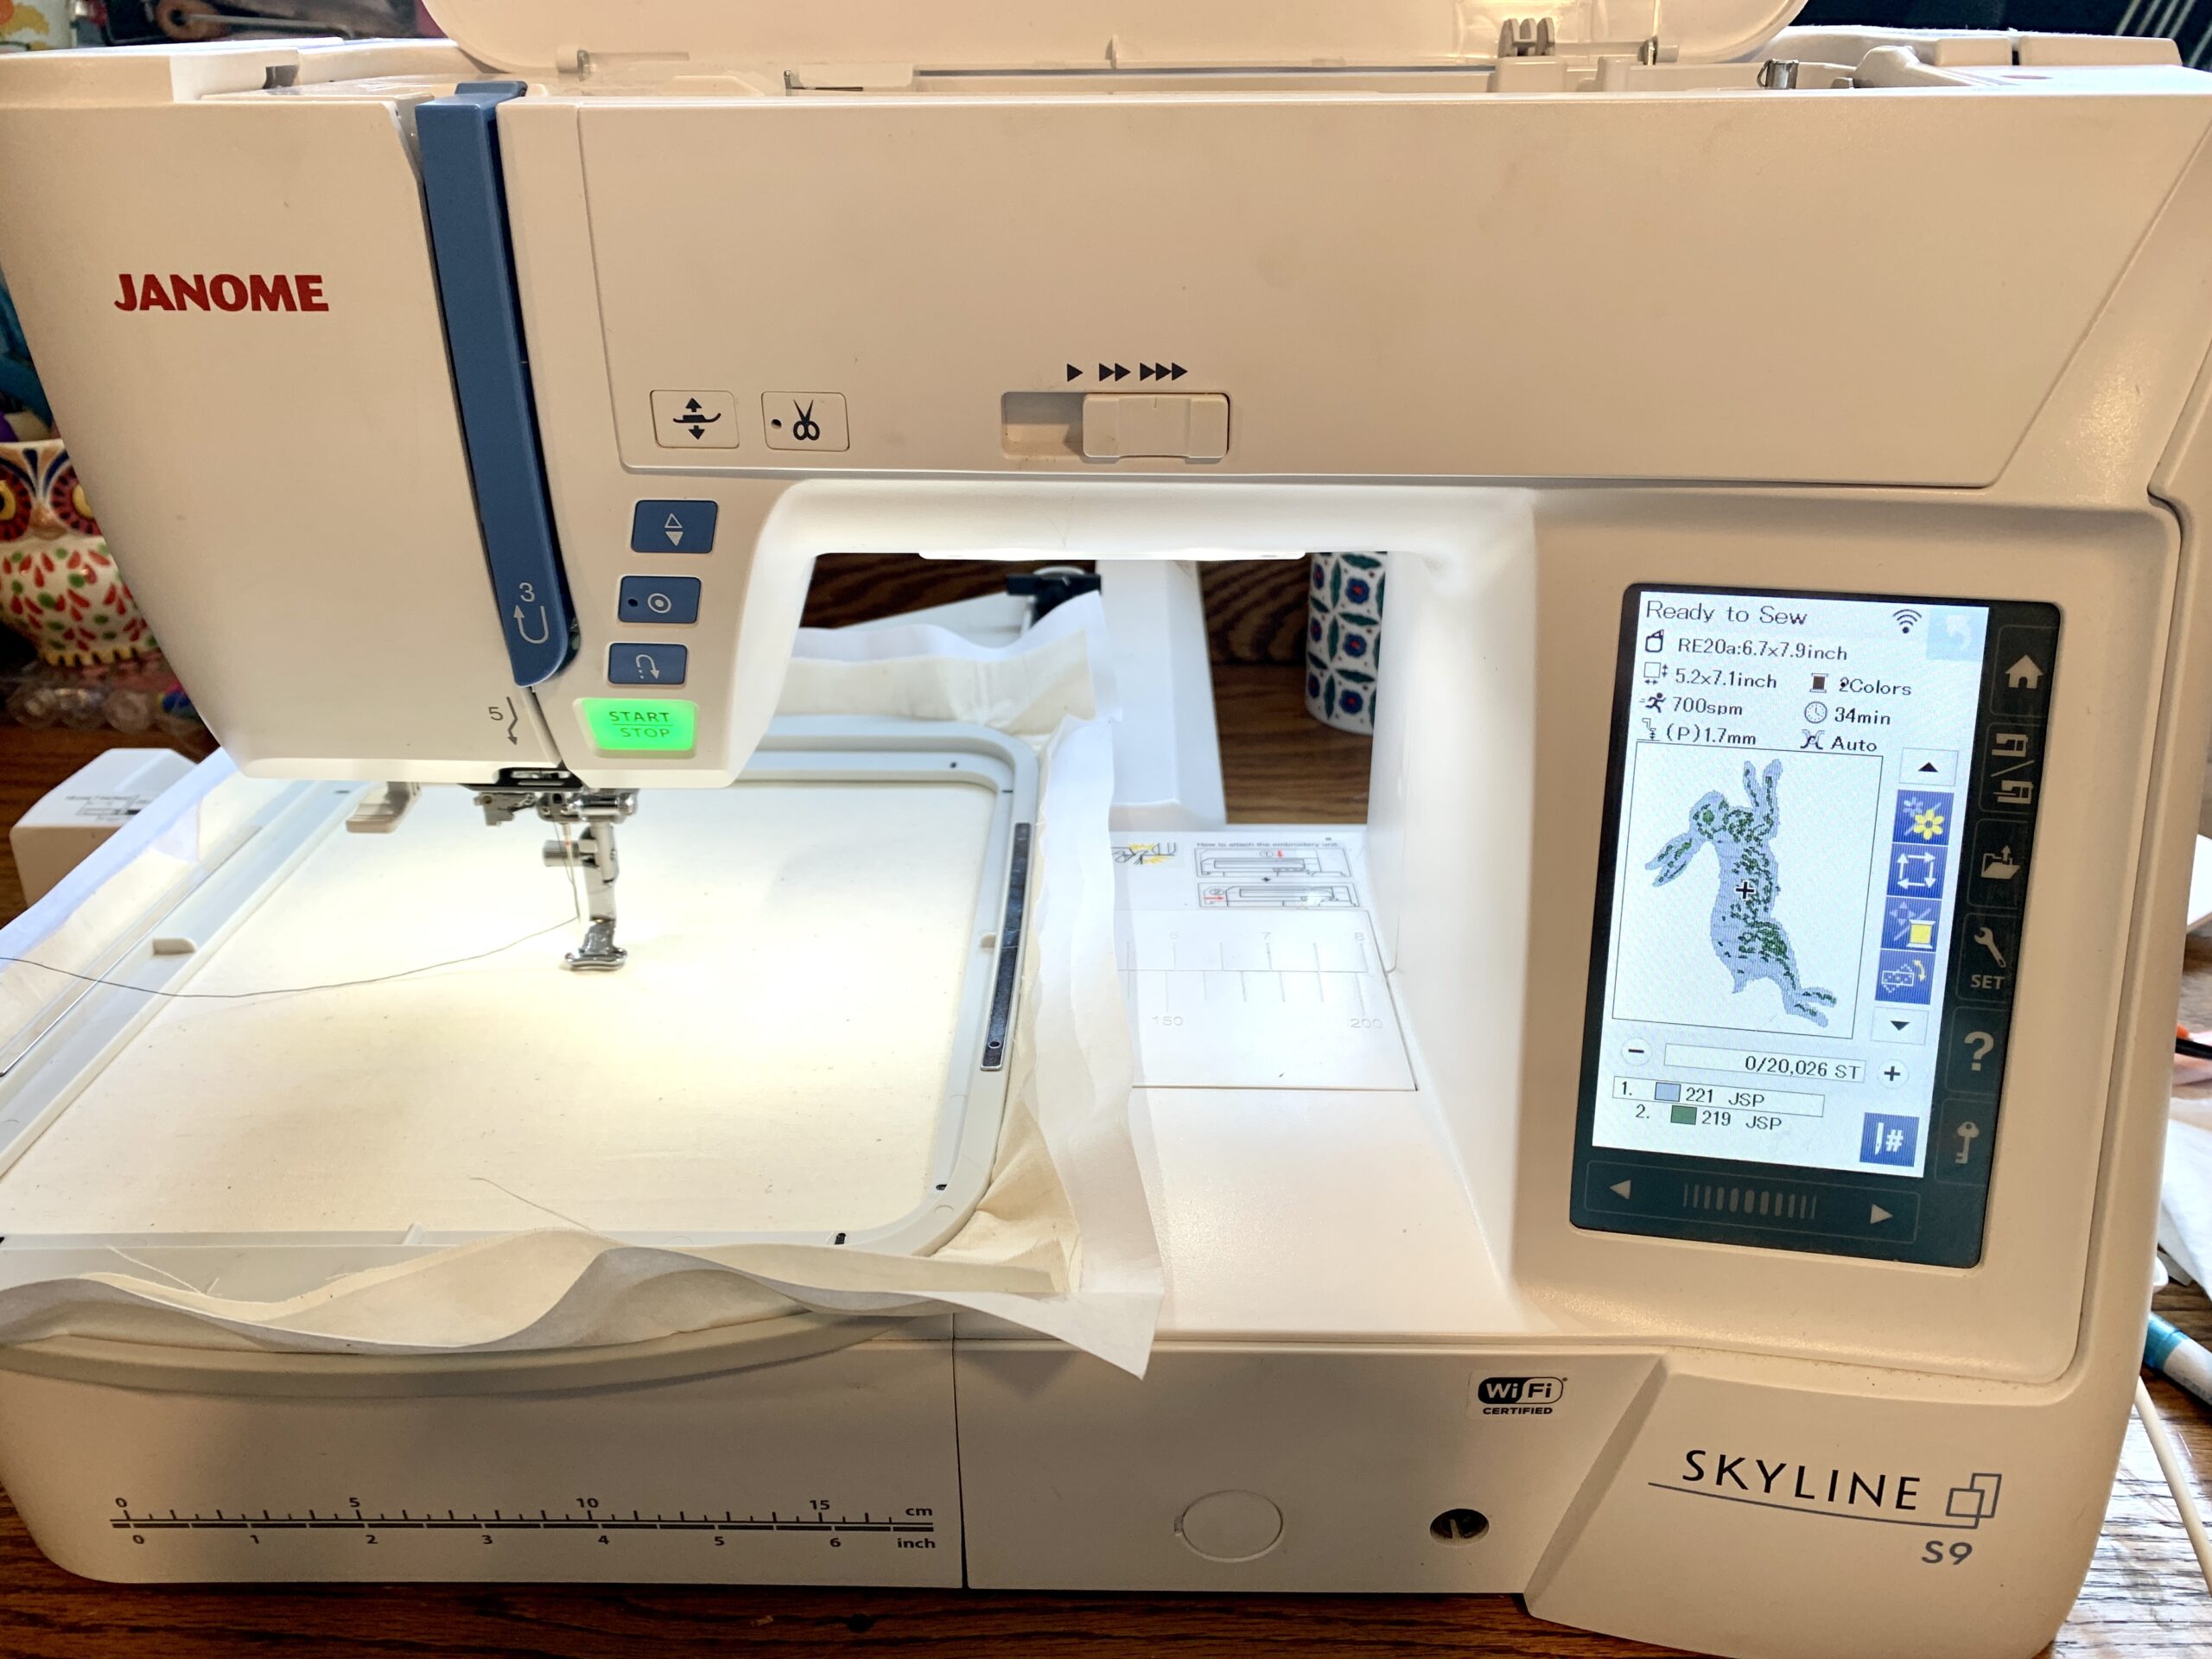


    begin embroidery


    First, my Skyline S9 outlined my rabbit, then began to fill it in. Finally, the texture was added.
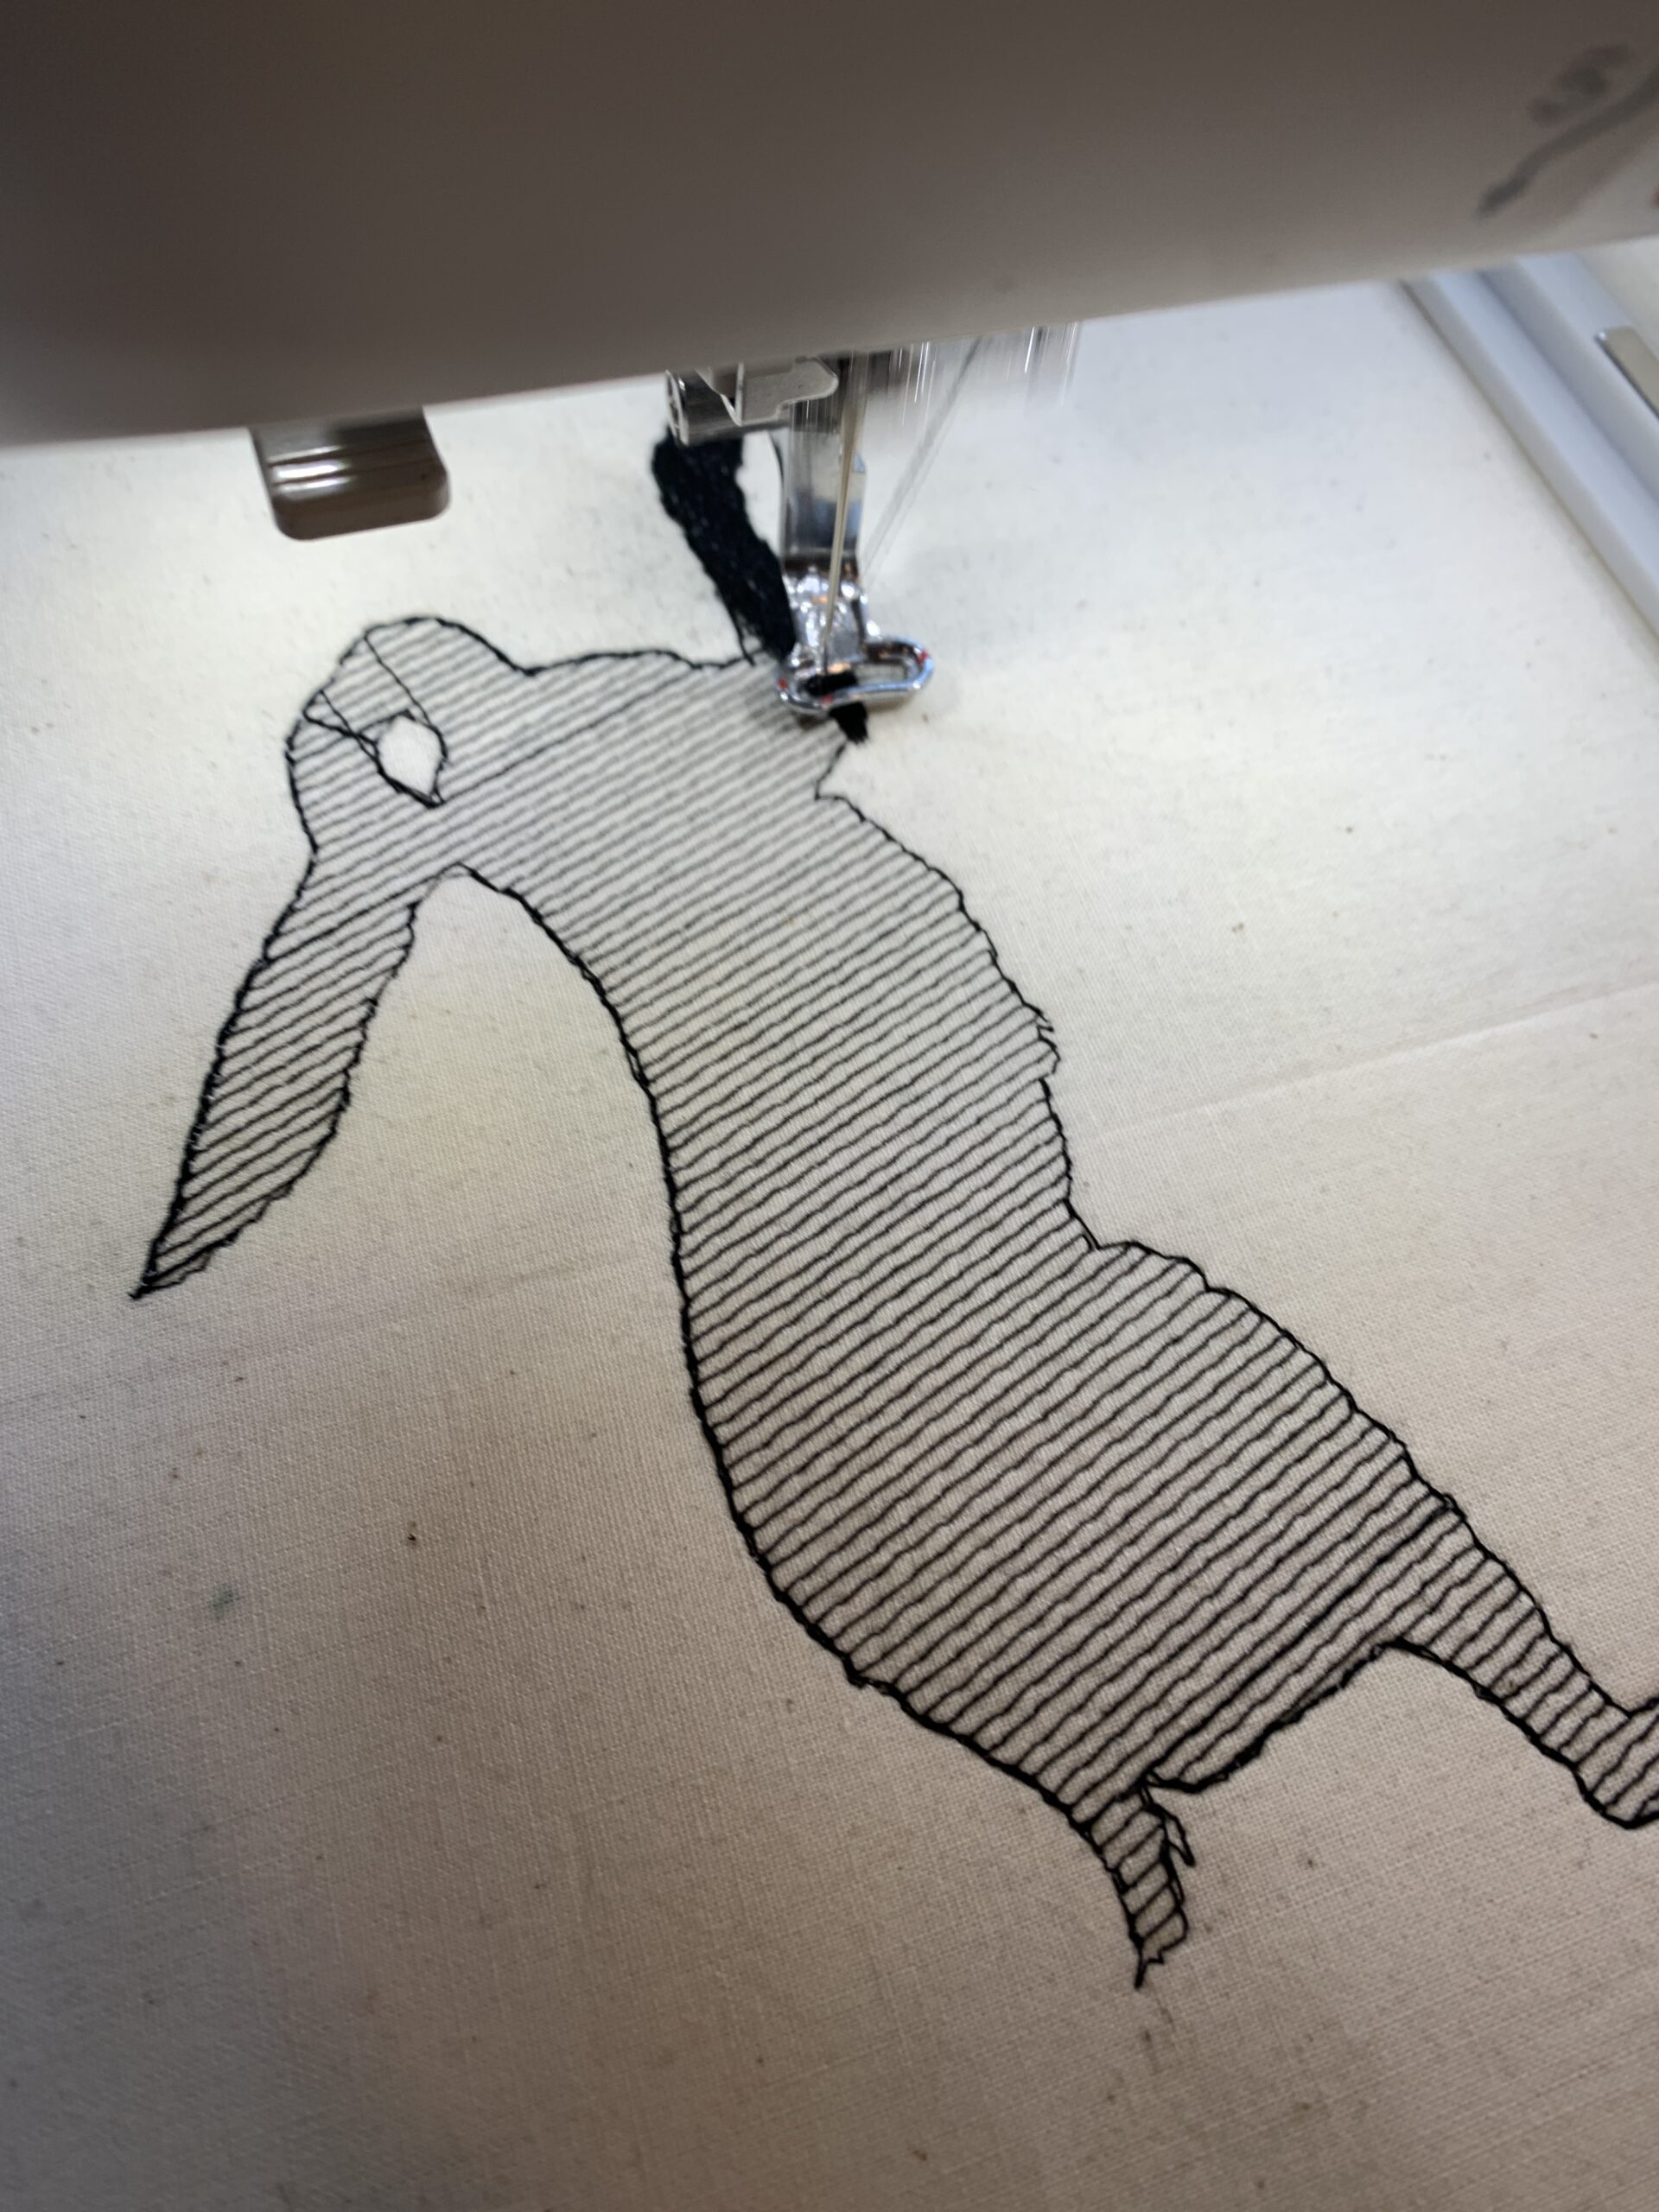
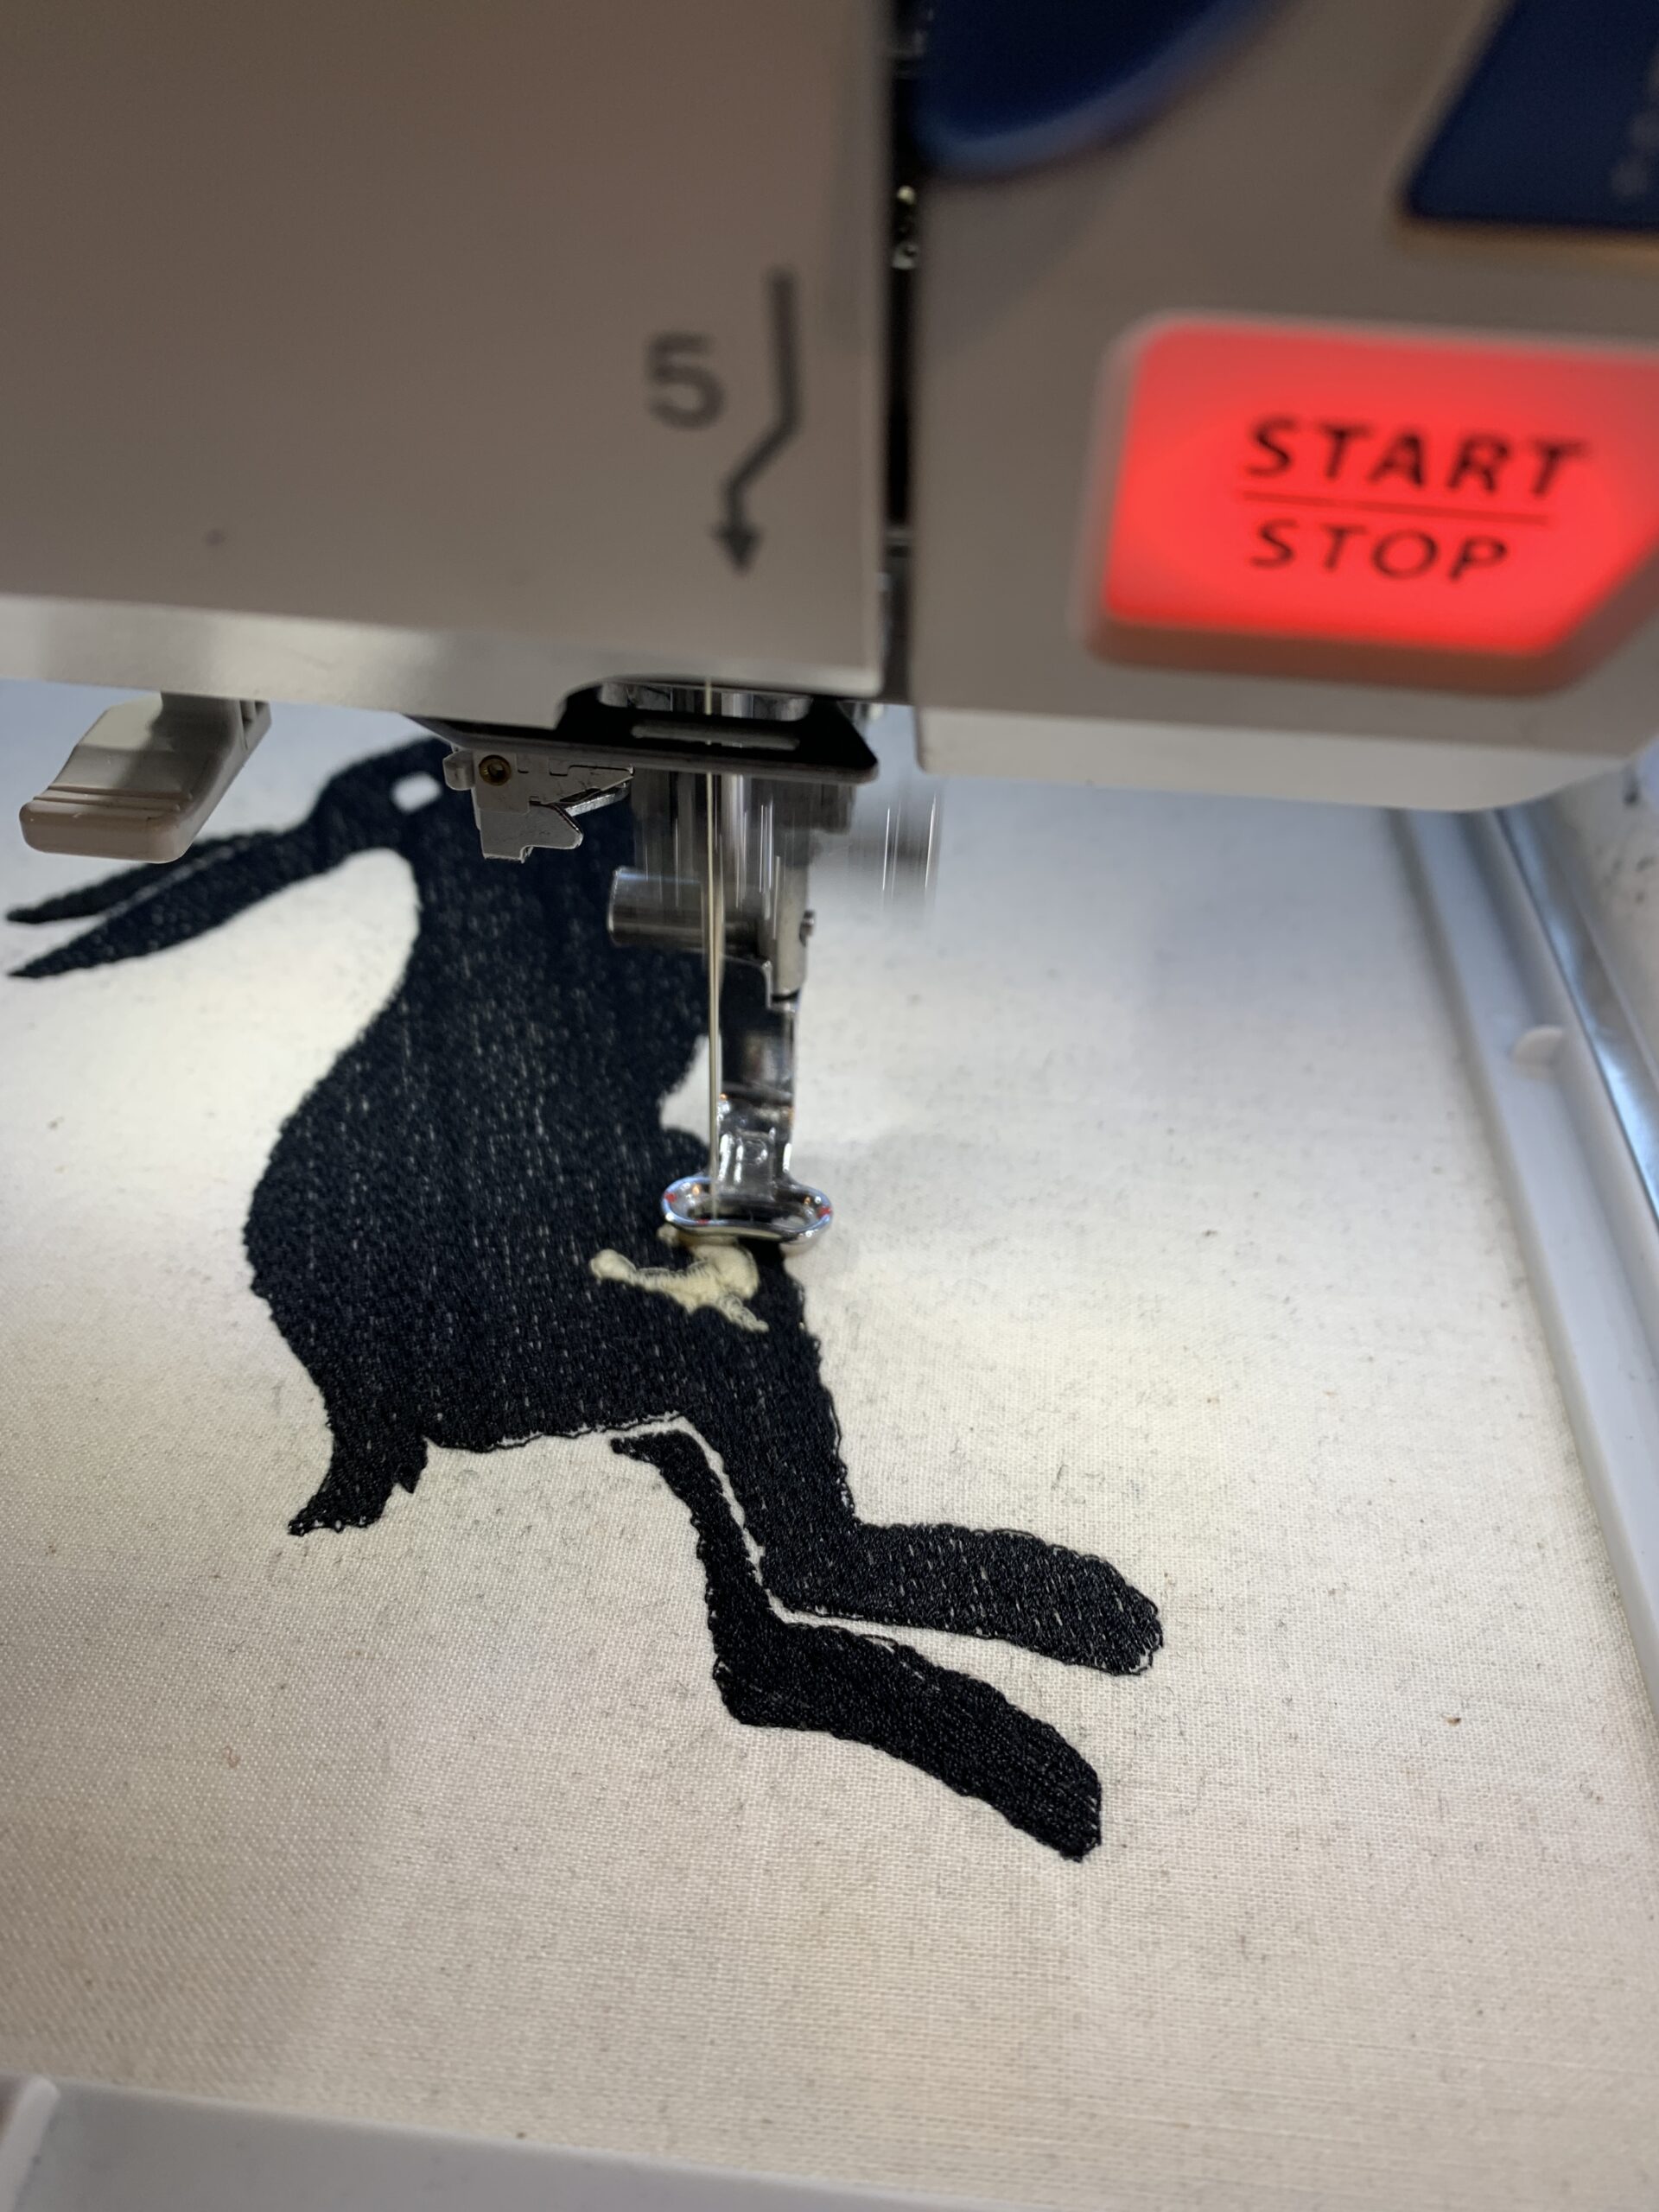
     

    embroidery 1embroidery 2


    Once the stitching was complete, about half an hour later, I removed the hoop and trimmed my fabric down to the needed size.
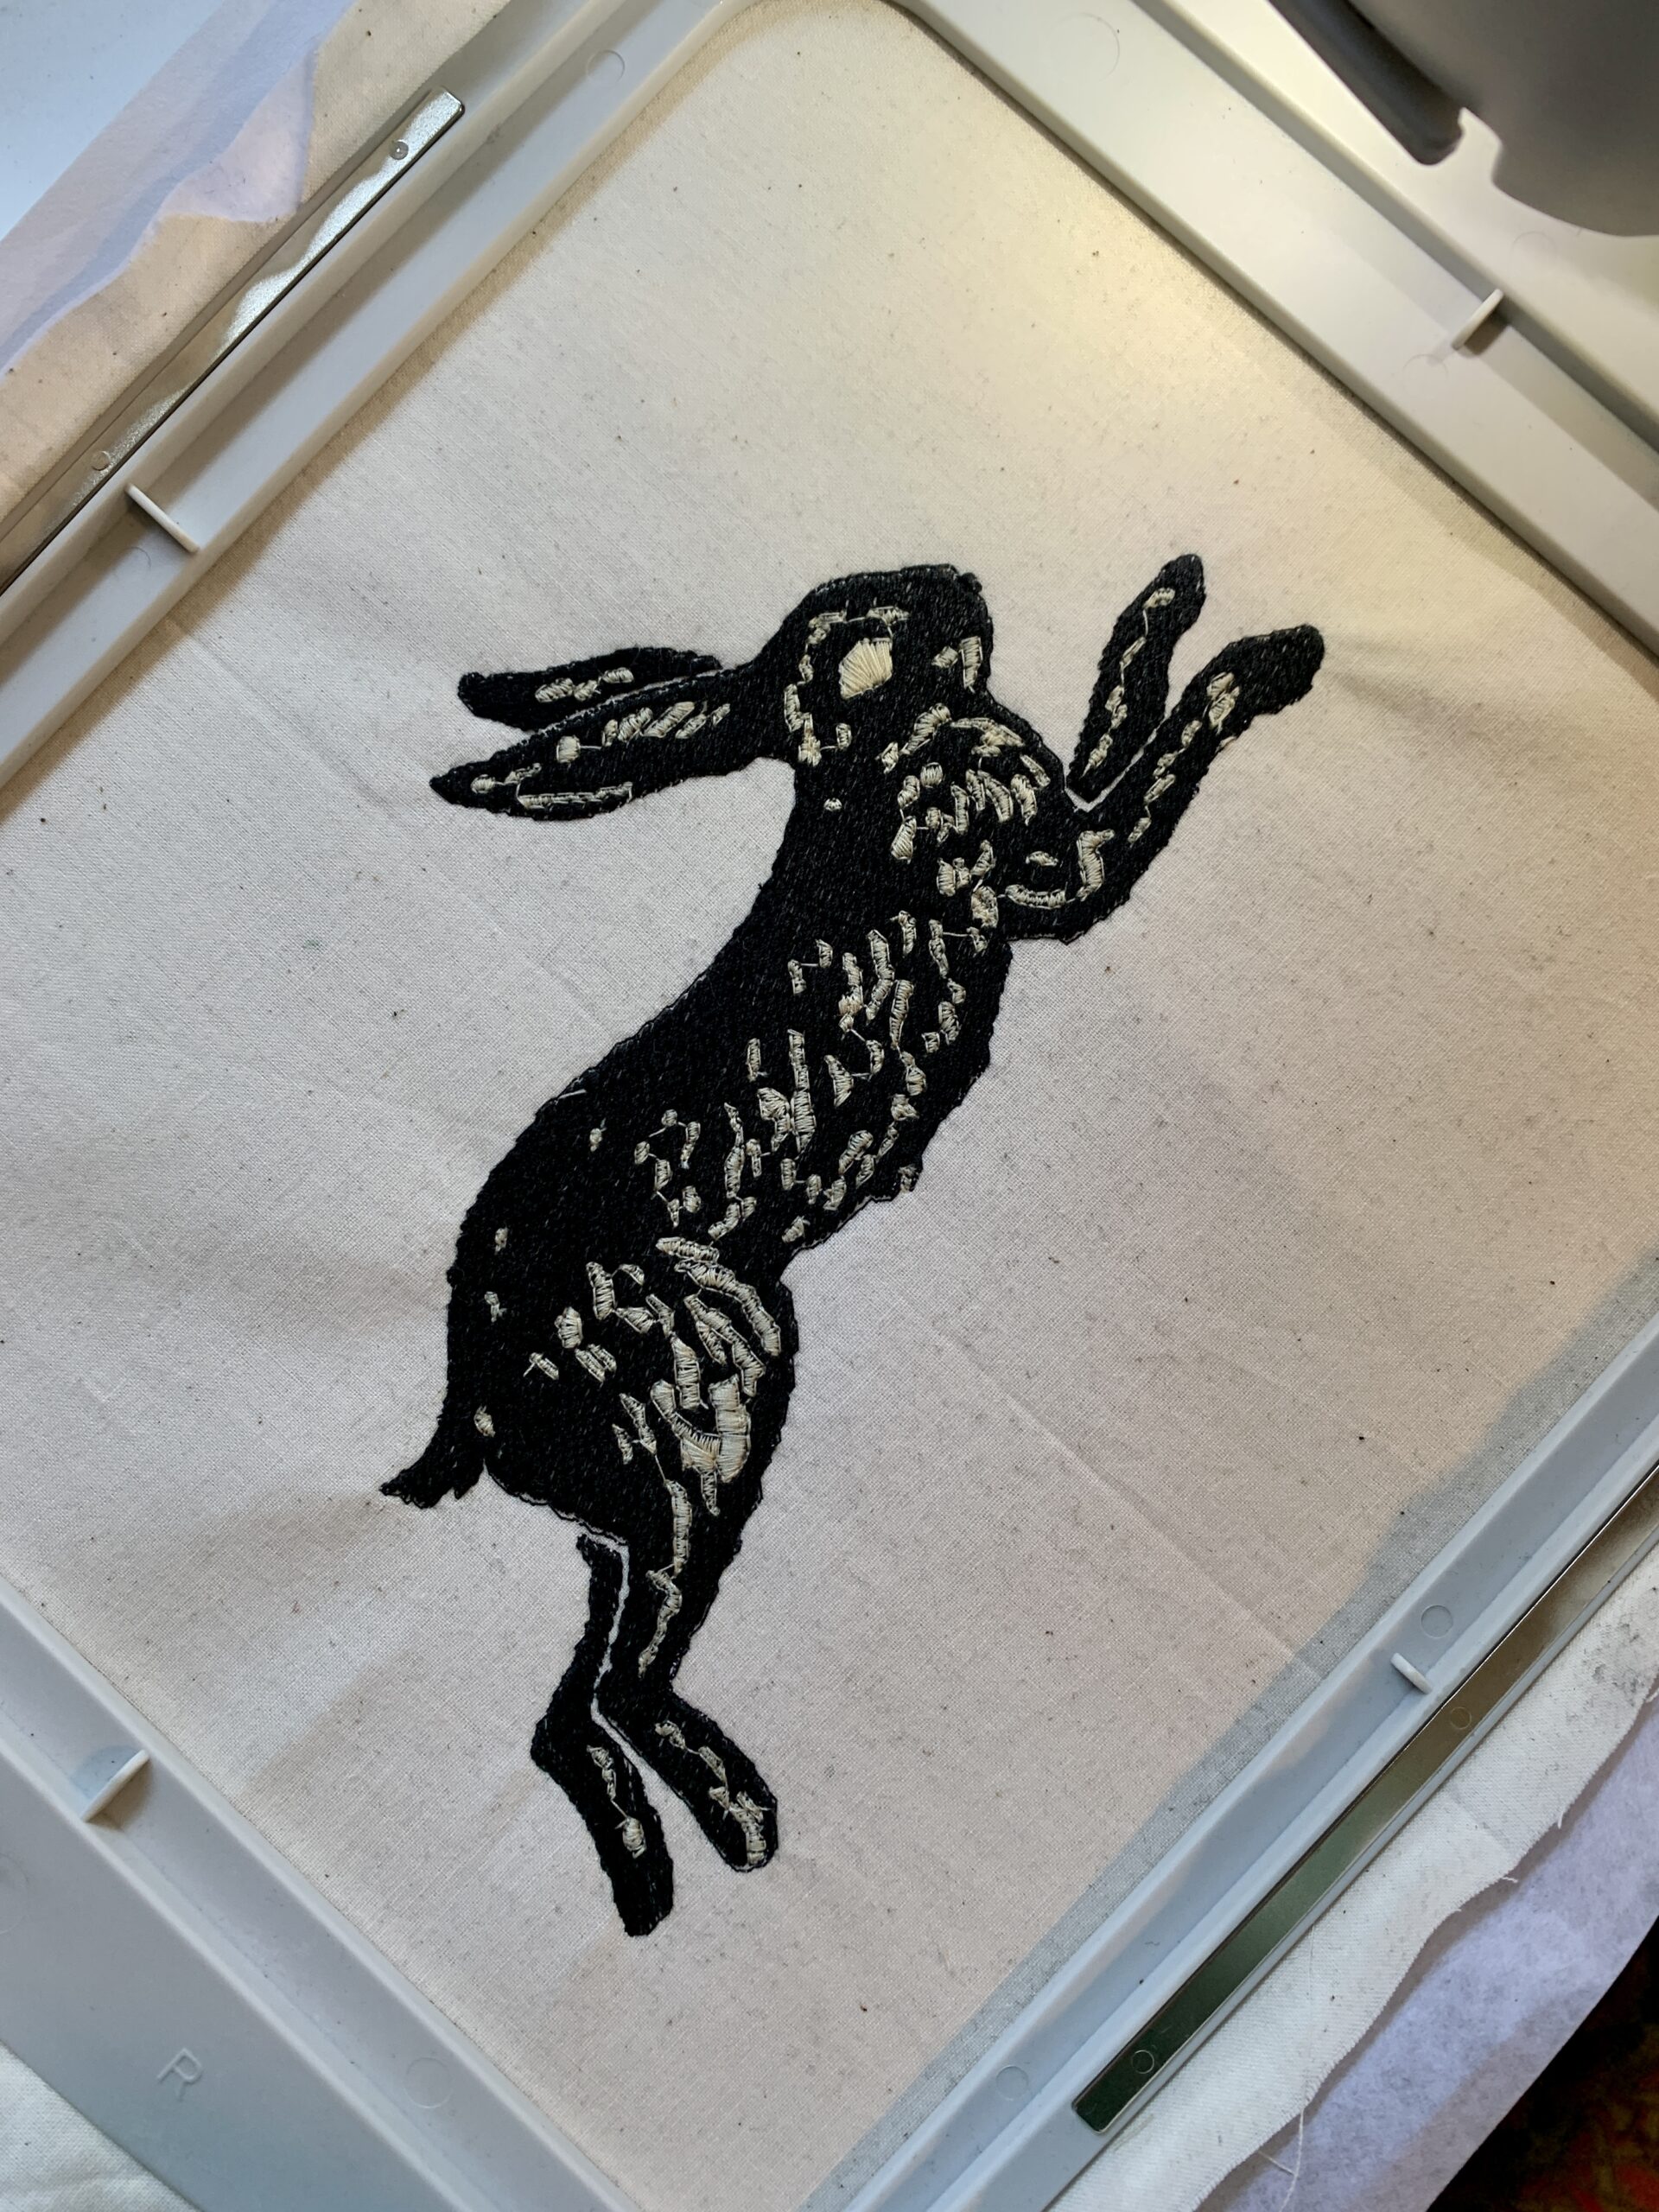
    completed embroidery       completed embroidery 2


    I picked up this fantastic custom gold leaf frame from my local AmVets (a thrift store benefitting veterans) for only $1.98. I took it apart, removed the angel picture that it was holding and after painting the current cream color matte black with some acrylic paint, I remounted the frame.
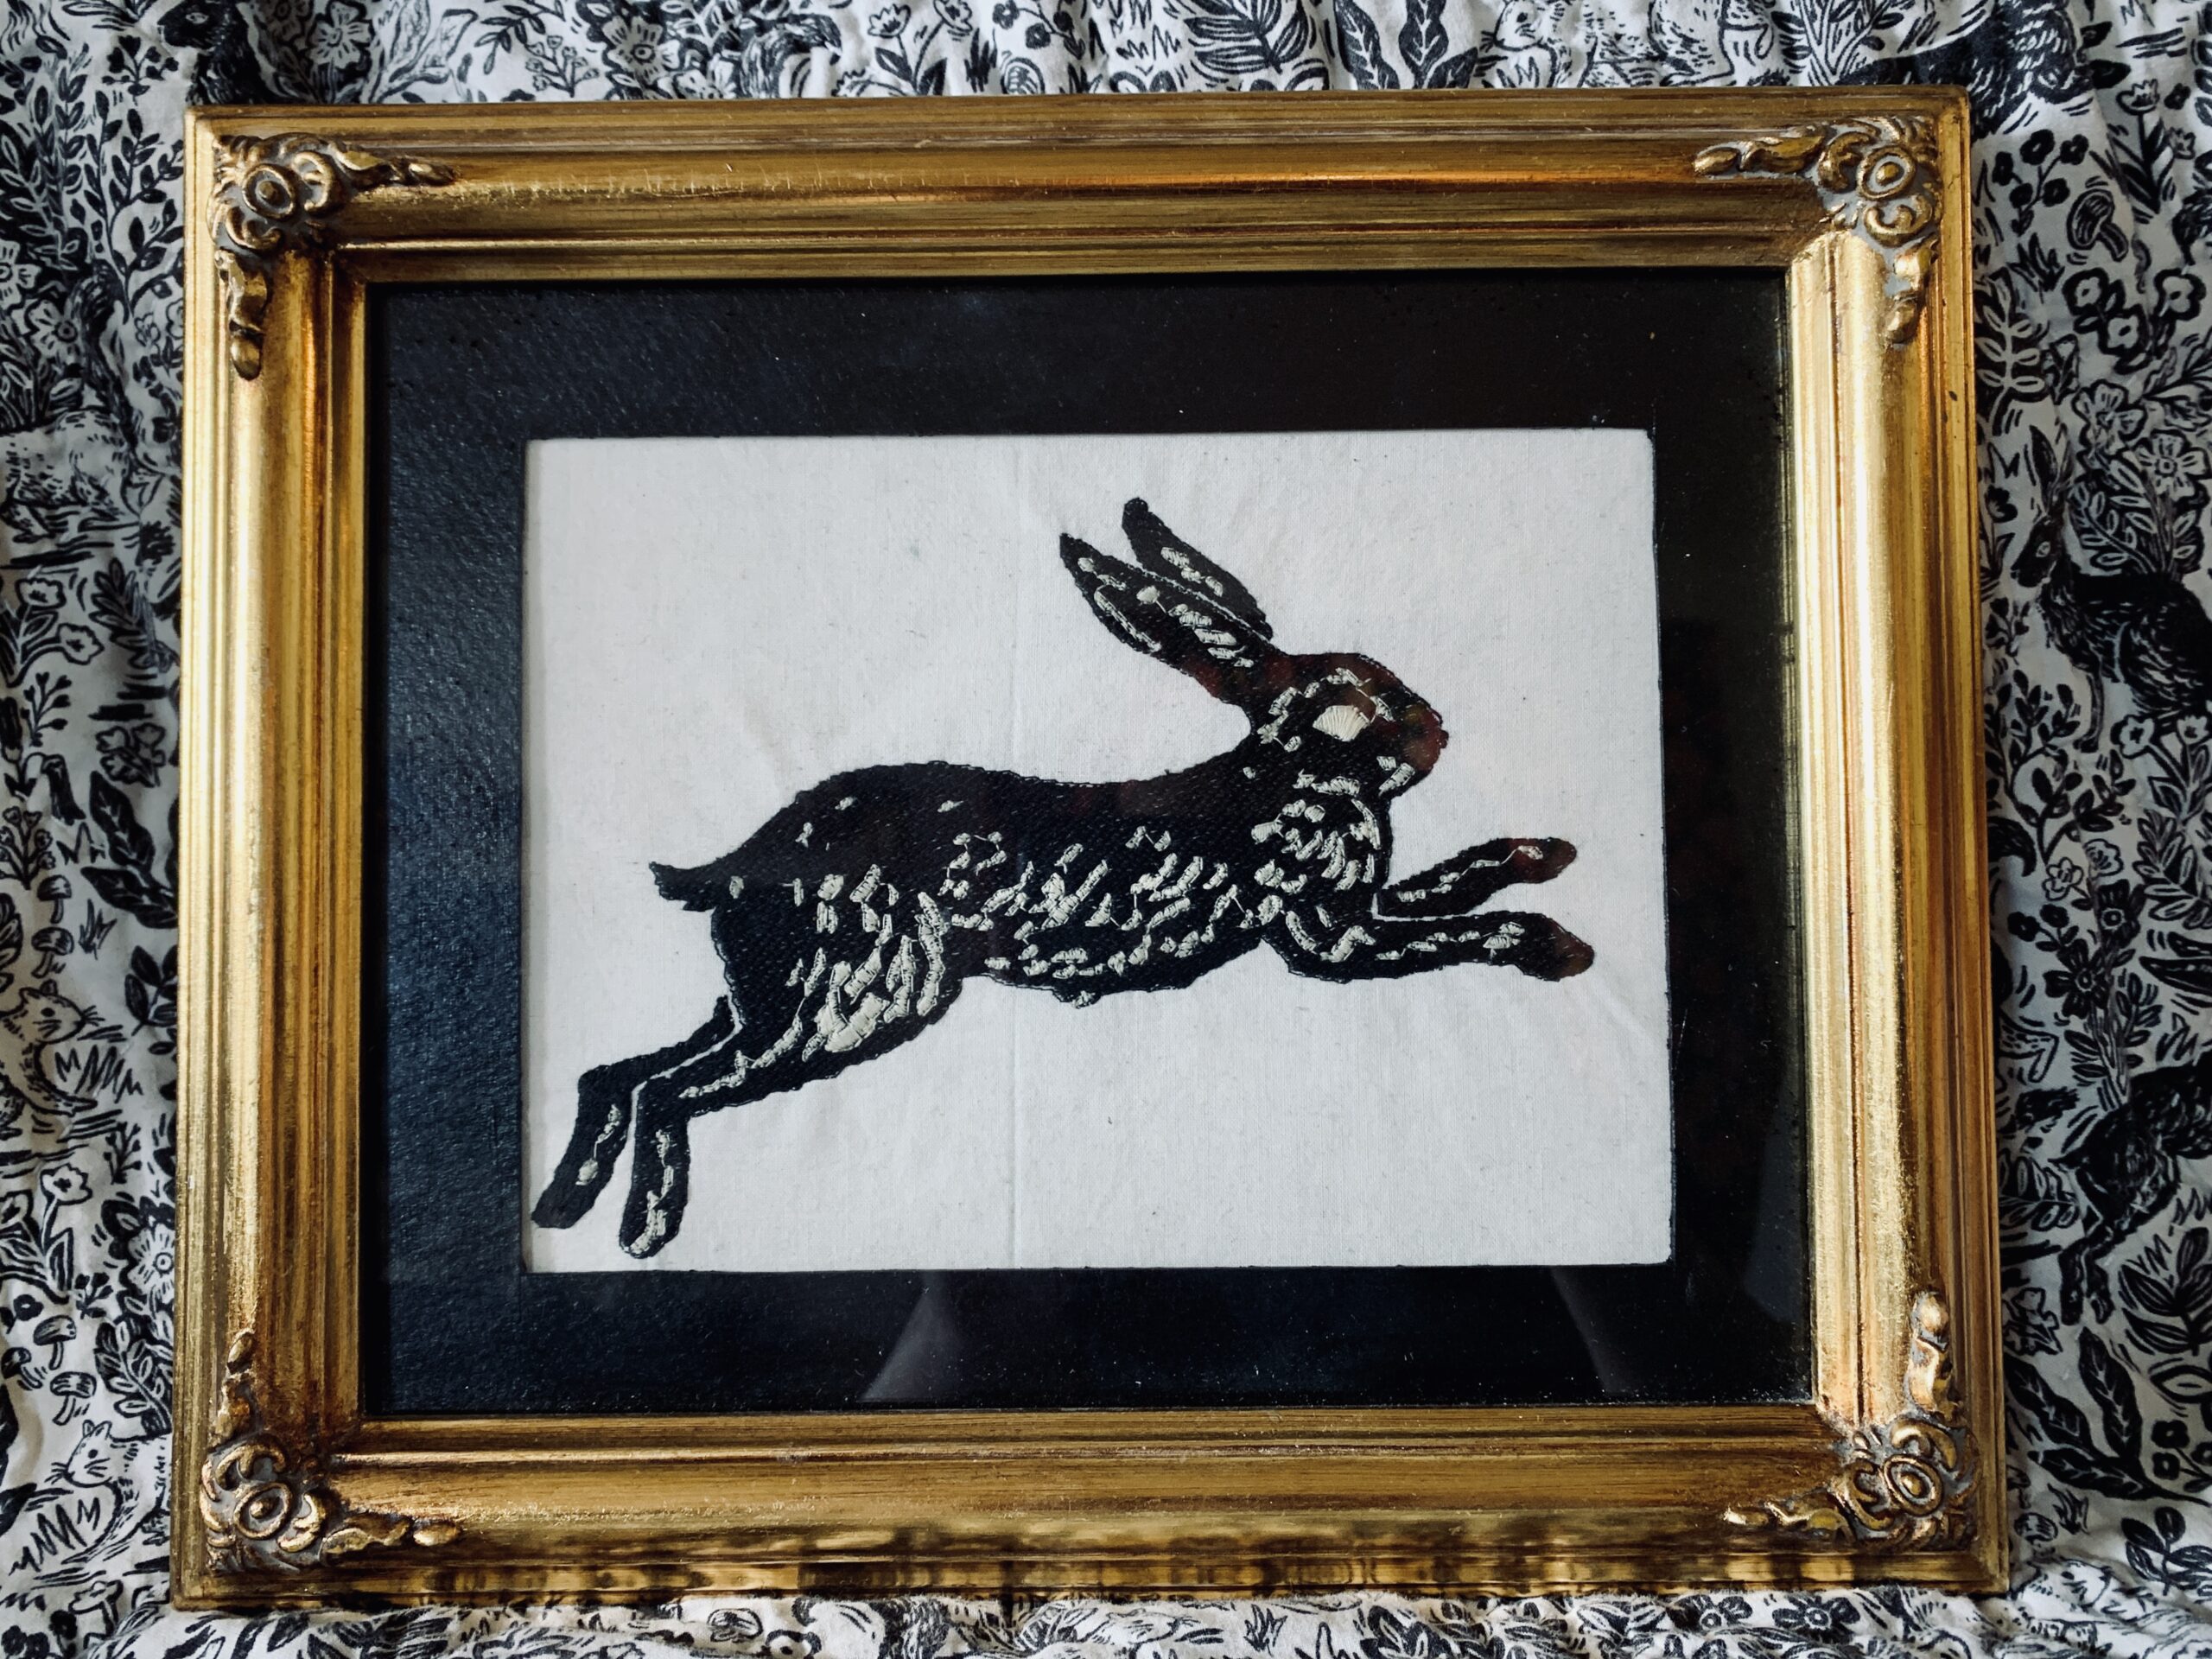
    framed fable embroidery


    I now have the beginning of a new gallery wall above our couch. The quilt you see here was made with Rifle Paper Co's Wildwood collection, which features the Fable print that I used for this embroidery art. We love small animals like rabbits and squirrels, so this was the perfect piece to add to our wall!
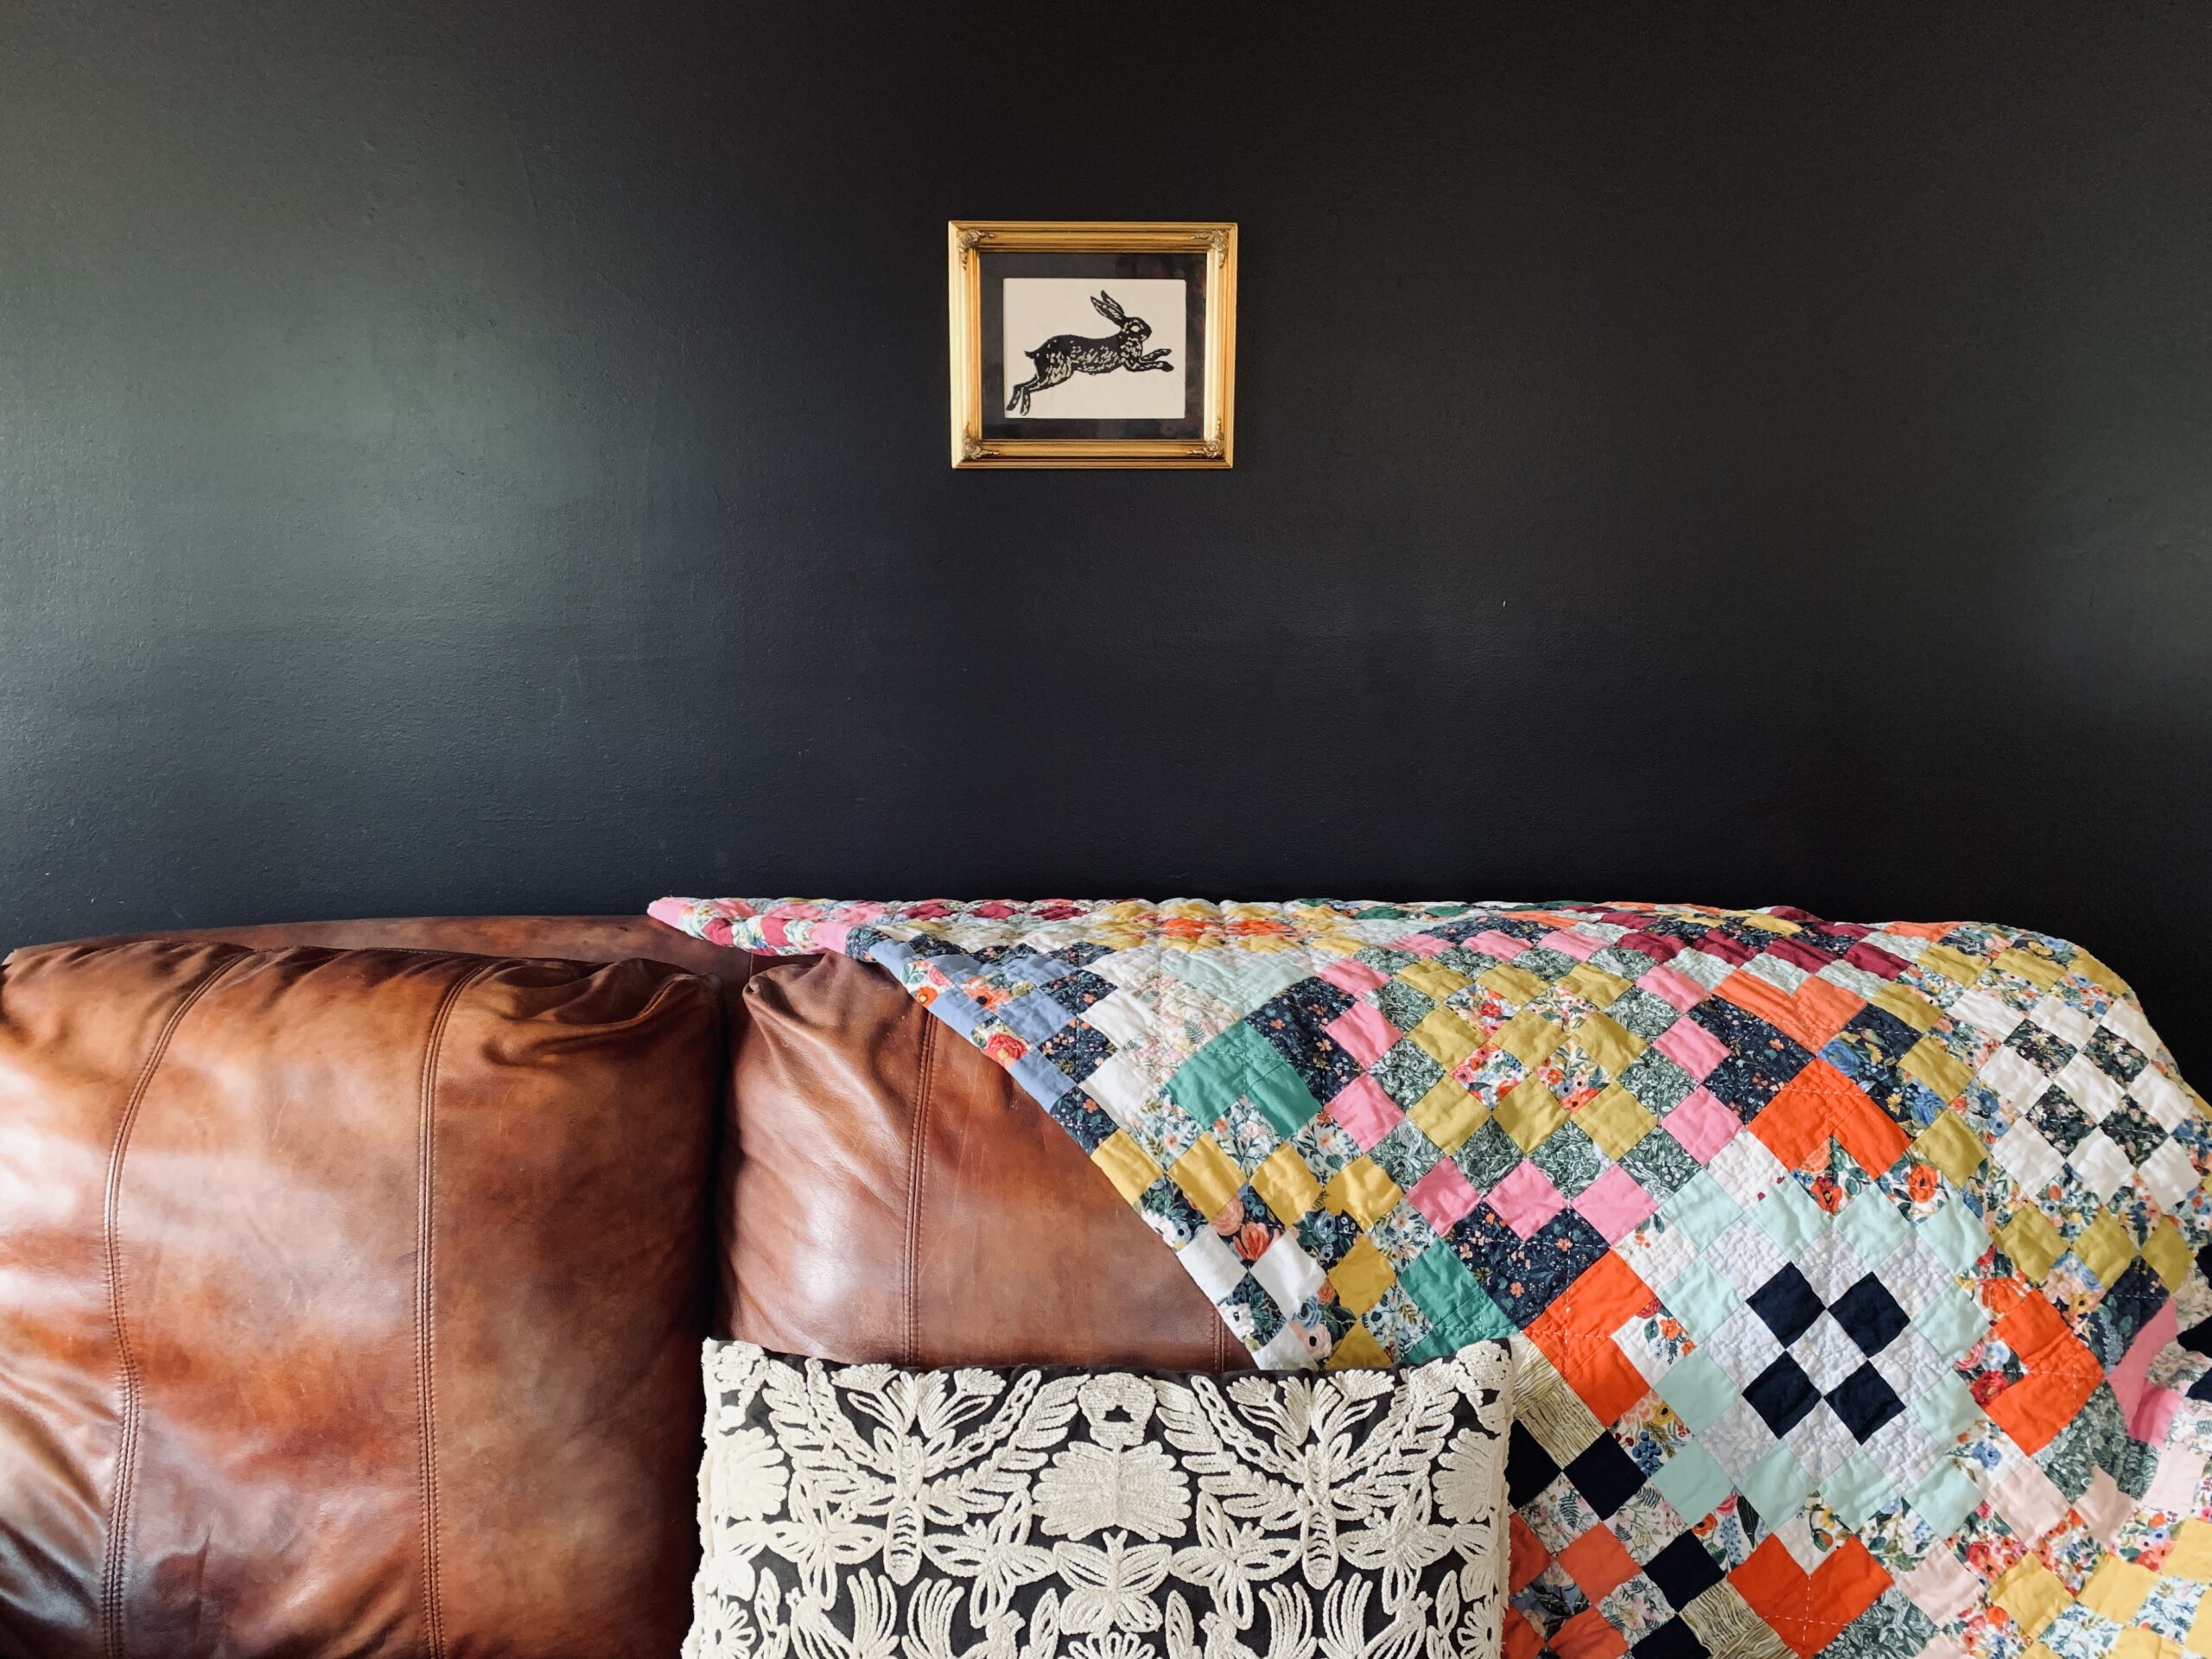
    framed embroidery


    The sky is totally the limit when you can create your own embroidery! I hope this will inspire you to create pieces that you love with your embroidery machine and Janome's Artistic software! I'll be adding some more pieces to my gallery wall with this method.
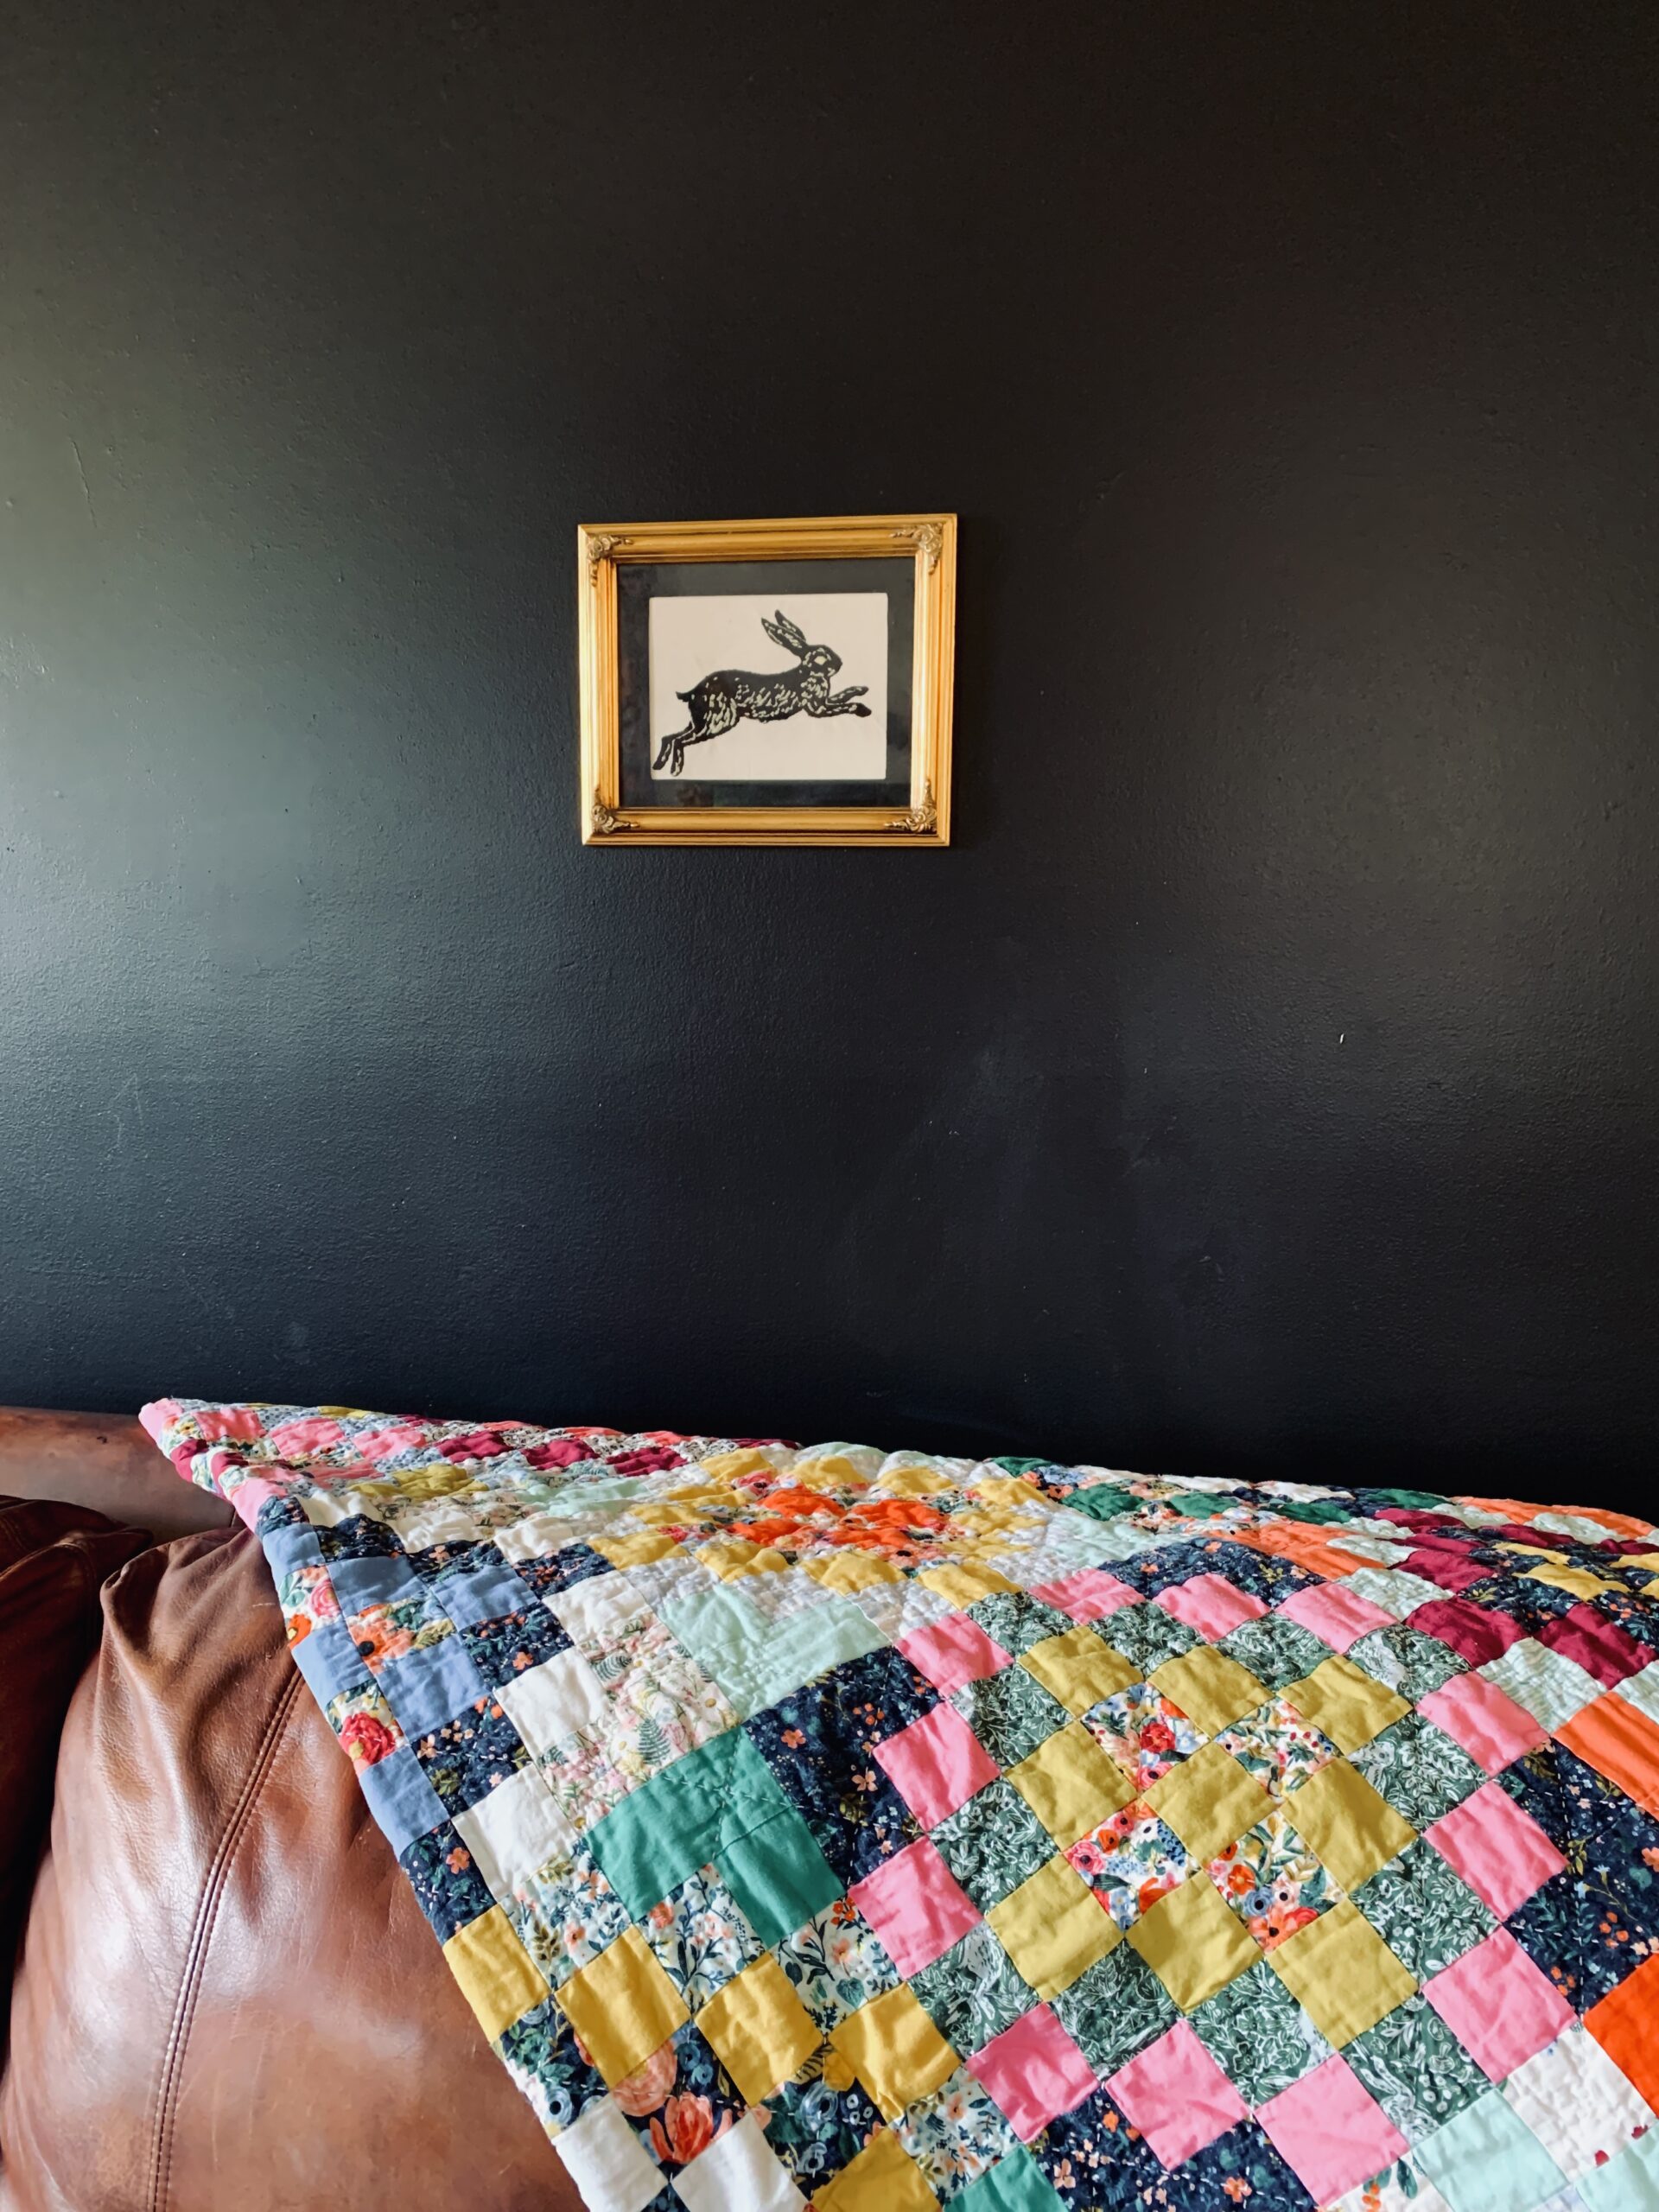
    framed embroidery 2


    Check out some of my other Skyline S9 projects HERE, and see the rest of my tutorials HERE. -Meredith

Prev 1 Next 

Tags

#freesewingtutorial 4th of July Applique Block of the Month Bunny Carolina Oneto Christmas Continental M7 Cosplay Cosplay Tutorial Costume Crafting Decorative Stitches DIY DIY Accessories DIY Father's Day Gift DIY skirt Embroidery Everyday Applique Father's Day Fiesta Weave Lunch Mats Fiesta! Four Fabric Quilted Project Bag Free Bag Pattern Free Pattern Free Quilt Pattern Free Sewing Free Sewing Pattern Free Sewing Tutorial free skirt tutorial Free tutorial Fun Projects Garment Sewing Good Tidings Quilt Along Green Goddess Dress Handmade Gifts Heidi Proffety Historical Costume Tutorial Holiday Sewing Home Decor How To How to Machine Bind How to Make a Quilt How to Make a Quilt. Free Quilt Pattern How to Make Panties How to Quilt How to Sew How to sew a top Janome Janome 9450 Janome AirThread2000D Janome Artisan Janome Artistic Digitizer Janome Conitential M7 Janome Continental M7 Janome HD3000 Janome Maker Janome MamoryCraft 15000 Janome MemoryCraft 15000 Janome MemoryCraft 6700p Janome S9 Janome Sewing Machine Janome Skyline S7 Janome Skyline S9 JanomeHD9 Lifestyle Machine Embroidery Maureen Cracknell MDW Melanie Call Memory Craft 15000 Moon Garden QAYG Quilt Block Mother's Day gift Napkins Patriotic Pattern Pillow Pillows Project QAYG Quilt Block Quilt Quilt As You Go Quilt Block Quilt Block Pattern Quilted Project Bag Quilting Quilting How to Quilt Rainbow Block of the Month Rainbow Quilt Block of the Month Rainbow Quilt BOM Reversible Zippered Pillow Rolled Hem Foot Scrappy Star Pillow Sew Sewing Sewing Machine Sewing Project Sewing Tutorial Skyline S9 SkylineS9 Stuffie Summer Sewing Project The Hype Tutorial Valentine's Day
DEALERS
The TWO Closest Dealers to you are:
196 Boston Post Road , Orange CT, 06477
203-878-1654
19 PUTNAM AVENUE , PORT CHESTER NY, 10573
914-934-2934
Find Additional Dealers